When I’m at home, I want to be on the road, and when I’m traveling I dream of sleeping in my own bed. It’s a blessing and a curse, and floating somewhere in between is what I’m working on doing better in 2014.
To fool myself into feeling nomadic while at home, I’ve turned my apartment into a monument to my travels. (Some of that was on purpose, but I confess most of my furniture designs come less from planning and more from whatever inspiration strikes me at the moment I sit down to work.) My place features a heap of Moroccan influences as I mentioned in this post, and some maps and vintage travel posters, too. Lately I’ve noticed a real UK slant has begun to creep in. It’s been an inadvertent inspiration, but I guess it points me back toward a place where I feel both at home and like a wide-eyed wanderer.
And that’s the middle ground where I’m happiest.
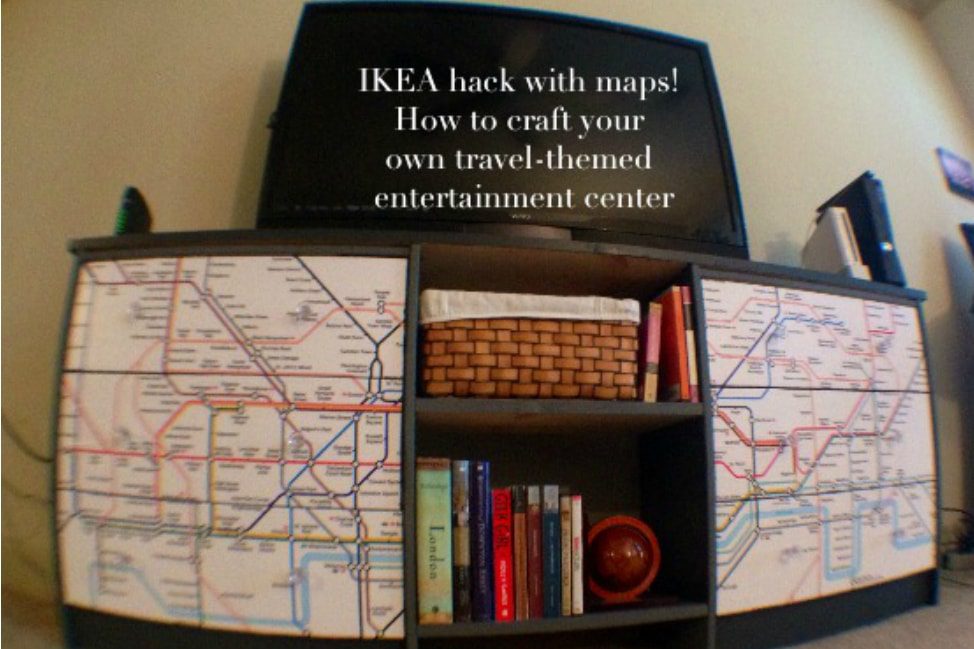
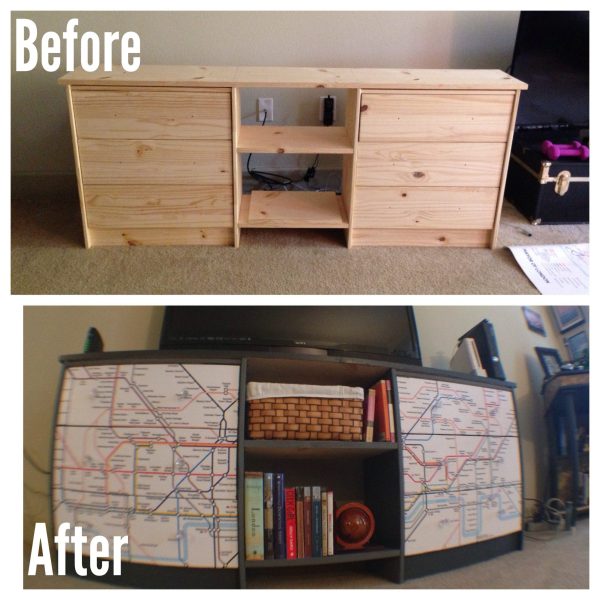
After spending Lord-knows-how-much moolah at IKEA this year, I found out that IKEA hacking is a real thing, and there are about 10,000 ways to jazz up the difficult-to-pronounce flat-pack furniture. Instead of spending a pretty penny on a pre-fabbed TV stand, I decided to attempt my first true IKEA rast hack, combining 2 RAST chests with some wood to create a custom entertainment center.
A decorative DIY guide to your own IKEA RAST
The one problem with IKEA hacking: I strongly dislike assembling furniture. I couldn’t tell you the last time I did it myself. I hate it so much I used to pay my NYC roommate Kelly in pancakes to put all my stuff together when I first moved into my Hell’s Kitchen apartment back in 2006.
In more recent history, I found dating a handy guy who likes to build things is also very useful. Maybe not very feminist friendly, but I am not so bothered by that so long as I don’t have to make sense of instructions that read like FLARBLEGLURBLE and BLARM.
What You’ll Need for this IKEA RAST Hack
-
2 IKEA RAST, 3-drawer chests in unfinished wood
-
A custom cut piece of wood for the top & shelves
-
Nails & wooden dowels
-
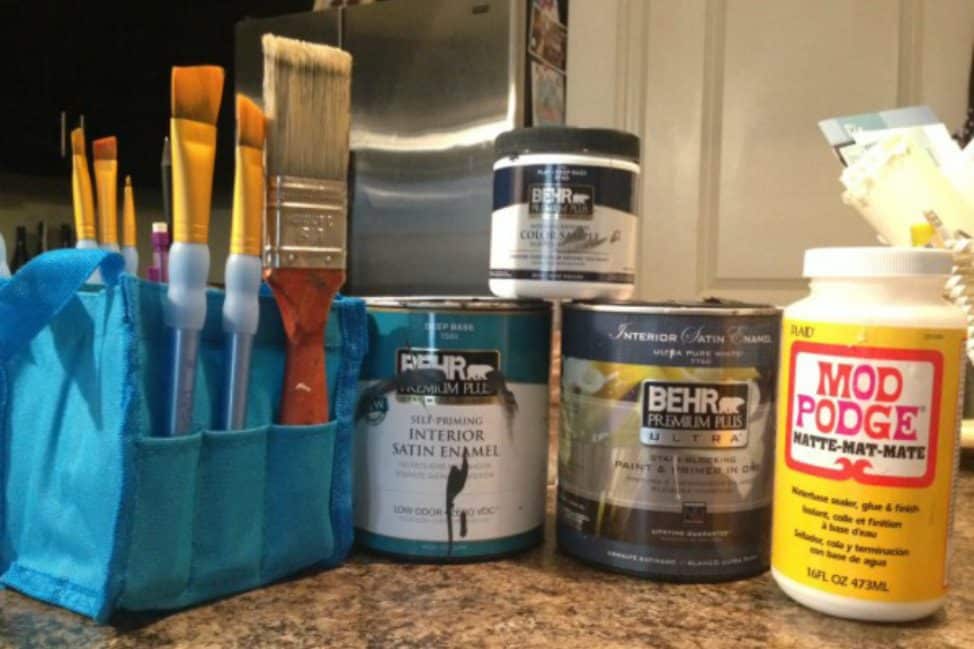
Paint & brushes
-
Mod Podge
-
London Underground Map Poster 55” x 39”
-
Drawer pulls
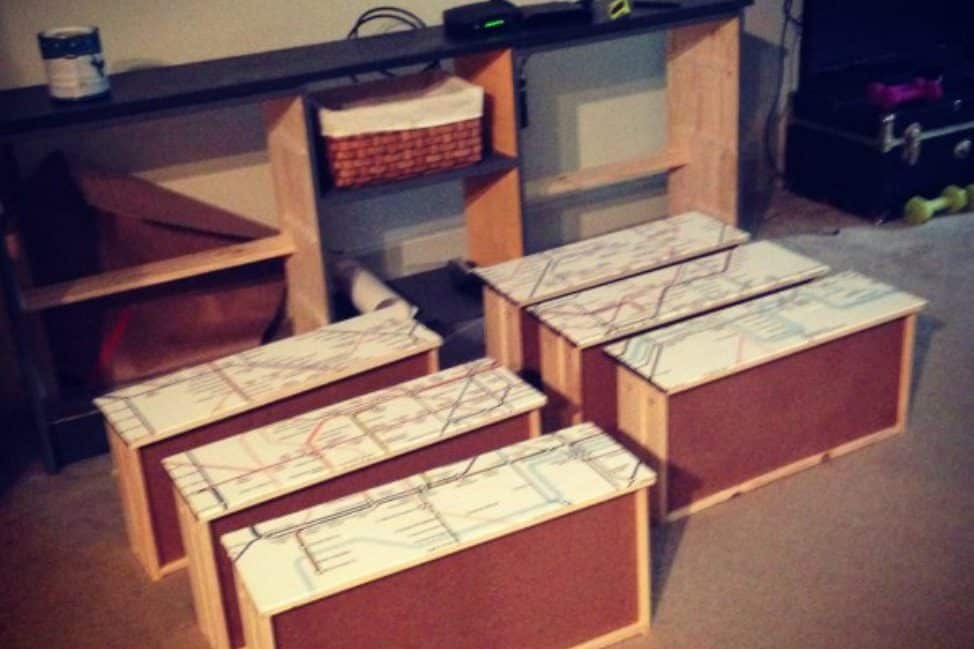
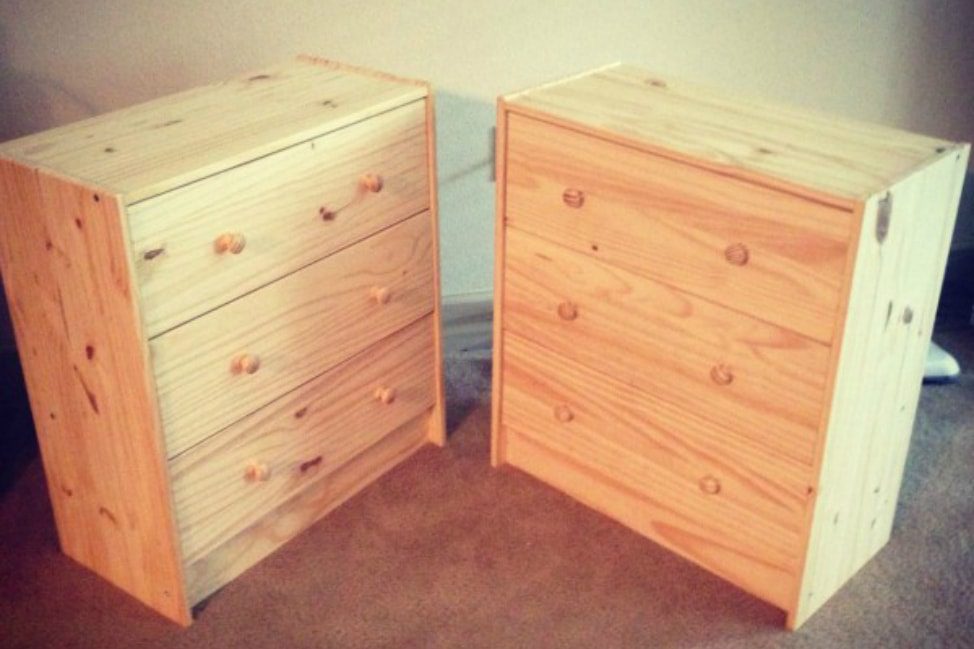 1. Construct both RASTs.
Leave off the drawer pulls until the very last step.
2. Paint all visible surfaces.
I used two shades of grey that I happened to have lying around from other projects. I was too lazy to sand, and I don’t think this project really needed it.
*Steps one and two are interchangeable. Depending on how you plan to design the hack it may actually be easier to paint first and then construct, however I usually need to see the piece before I know how I’m going to design it, so I built the whole thing and then painted (while binge-watching Breaking Bad)
3. Get wood for top & shelving cut at Home Depot.
Measure out how long you want your entertainment center to be and choose an unfinished piece of wood to connect the two RASTs. Length is totally up to you, but I wanted a couple inches of overhang on either side of the top plus a small section in between the two chests for shelving. The very nice man at Home Depot cut two smaller shelf boards from the same piece on the top. Three cuts are free so this was easy and cheap.
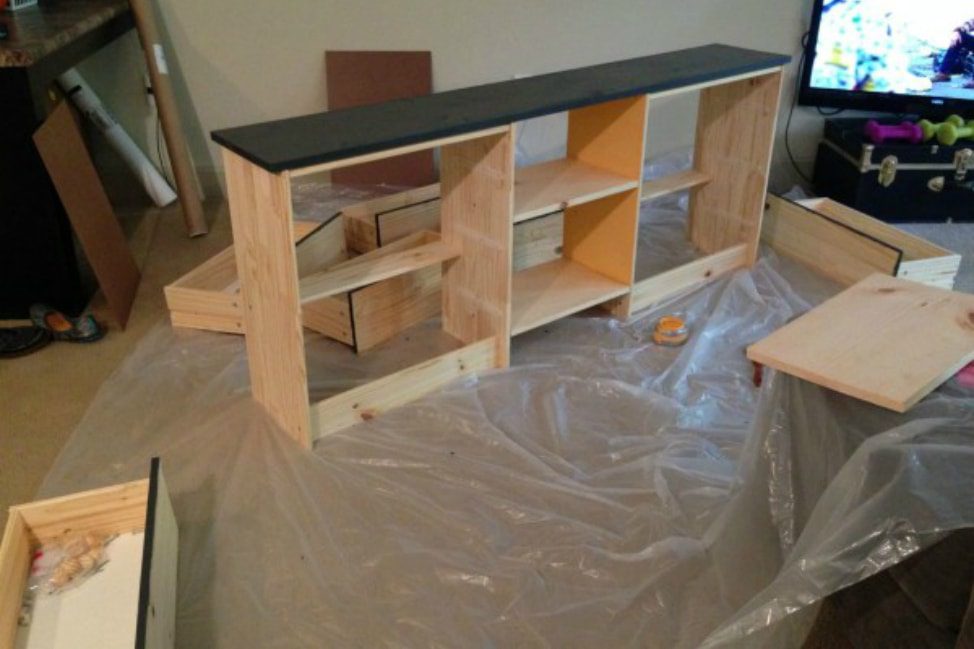 4. Connect the IKEA RASTs with the wood.
I confess I had nothing to do with this step. My plan was to hammer some nails in the top and sides and just rest the wood boards on the exposed nails. That would’ve been pretty janky though, so my crafty fella came in and saved the day with a drill and some dowels and wood glue.
It took a while and I was impatient, so I worked on the next step…
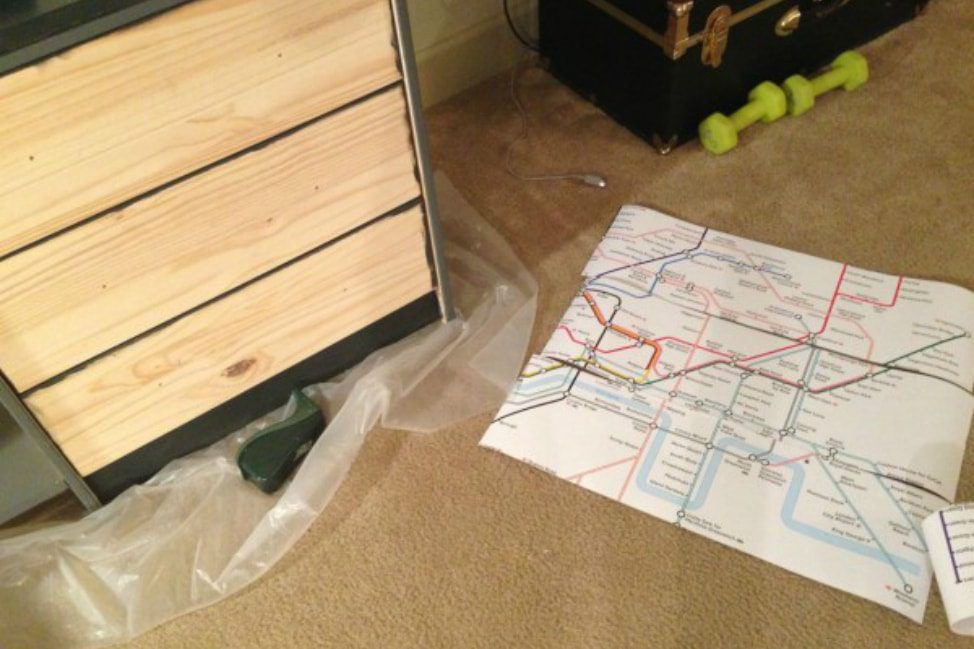
 5. Decorate drawer fronts.
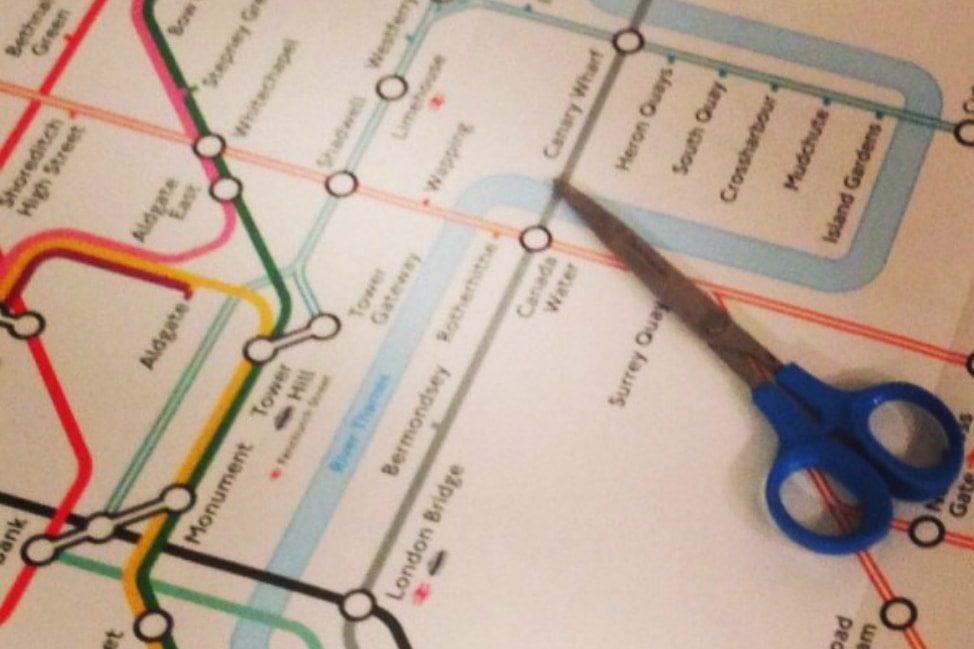
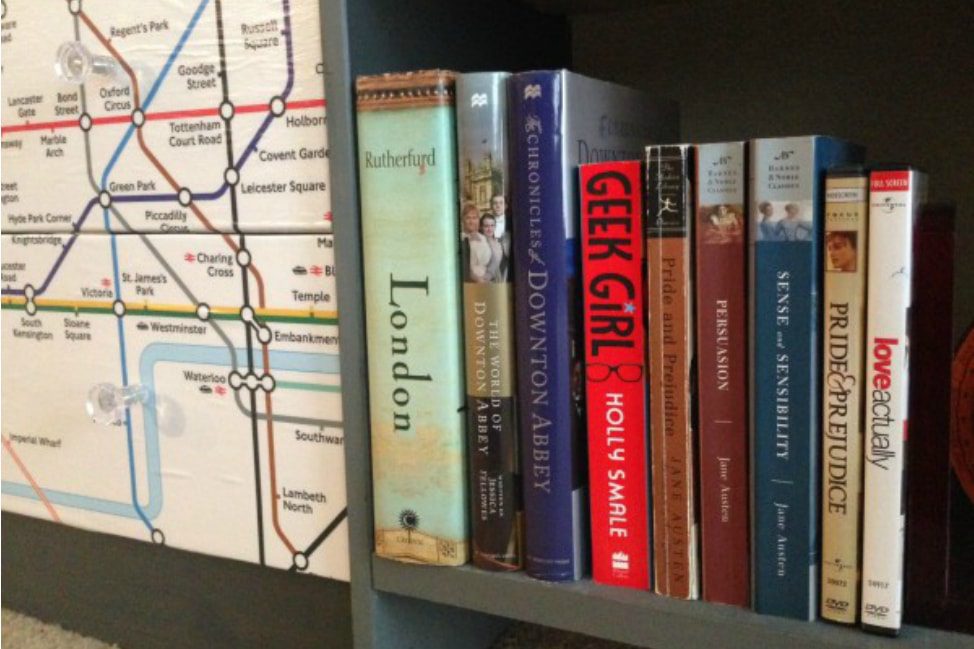
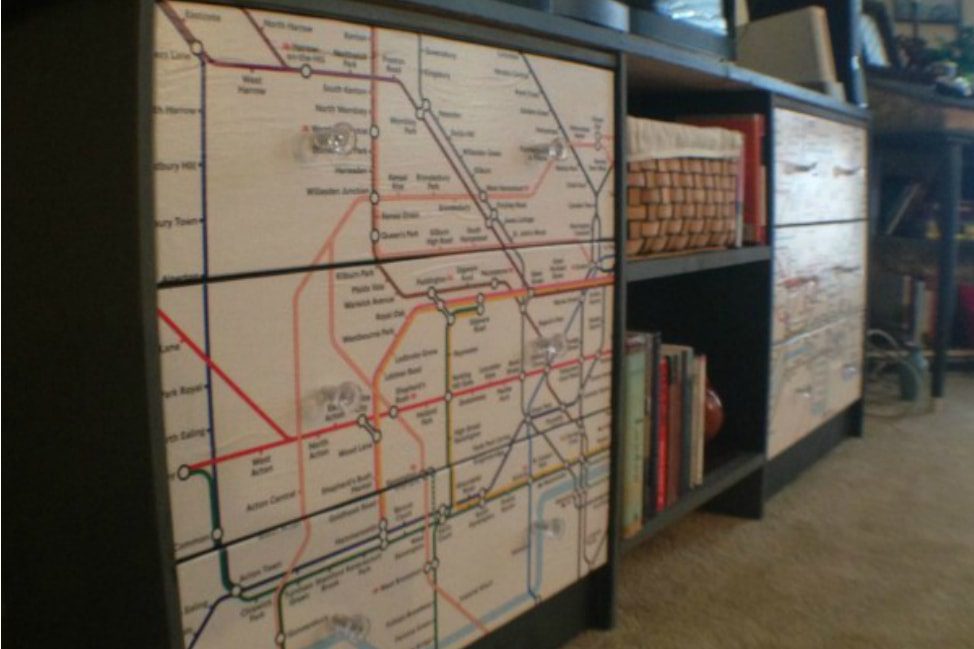
I waffled between Mod Podging and stenciling for weeks, and finally I ordered some fun prints from Poster Revolution and settled on a huge 55” x 39” map of the London Underground to cover the front of the 6 drawers. The poster material was a decent thickness, which made it much easier to Mod Podge than using wrapping paper like I did on my bedroom dresser. I loved this map because I can change the exterior color of the wood anytime I want the revamp the look, and the Underground map has every color from purple to yellow to green to orange, so I could go wild if I ever felt like it.
I also liked the thought of being reminded of London every time I turned on the TV.
That’s not to say this part was easy though! Using a poster meant there was no room for error. I had one shot to accurately measure, cut and paste the whole map on 6 different surfaces, and every line had to match up. Had I messed up even one of the drawer fronts, it would be next to impossible to reorder and then re-cut just right.
There’s no starting over, so yeah, no pressure. (My advice: don’t do something this unforgiving on your first attempt!)
With the fear of imperfection weighing heavily on me, I measured the drawer fronts and then, in pencil, traced the same space on the map with a yardstick – focusing on central London of course. I carefully cut along my penciled line until I ended up with 6 equally sized pieces.
WARNING! Be really careful to lay out each drawer with its appropriate piece facing the right way. If you accidentally paste a section on upside down, you are out of luck! (I only say this because I stenciled one drawer on my last IKEA RAST upside down and felt like a complete idiot after.)
Next I painted a layer of Mod Podge on the wood and pressed the map onto the appropriate drawer front. It’s important when Mod Podging on the RASTs not to leave excess paper to folder over the edge of the drawer, because there’s not enough space in between drawers for extra bulk, and you risk the paper ripping from repeated opening and closing. (Also important to paint the inside of the drawer fronts BEFORE you Mod Podge if you don’t want those bits of wood to show.)
Lastly, paint several coats of Mod Podge over the top of the map, sealing it forever. I wait about 20 minutes in between coats and pay extra attention to the edges.
6. Add drawer pulls.
IKEA has super cheap clear pulls that look much better than the wood ones that come with the IKEA RASTs, and you save time by not having to paint them to match.
 Project Cost:
-
2 IKEA RAST – $70
-
2 sets of 6 SÄTTA drawer pulls – $4
-
1 London Underground Map – $9
-
1 custom-cut piece of wood – $12
-
Paint – already had
-
Wooden dowels, wood glue, nails, etc. – already had
Total: $95
 For travel & decorating inspiration, follow me on Pinterest! I appreciate your feedback as I grow into this new side project!
For more DIY fun:
DIY Tiny Laundry Room Makeover
Love this! It looks great, and is so personal, much more inspiring than regular IKEA stuff.
Thanks, Laurel! Appreciate you reading =)
I absolutely love those drawers. I commuted to London for 7 years and actually really hate taking the tube, but I love their branding and it looks great on the drawers.
Thanks, Tammy! I thought the map might make my living room feel a bit too busy, but I’m loving it! Great little reminder of some of my commutes in London, hah
LOVE LOVE LOVE! Brilliant idea!
Thanks, Andi!
I home I can recreate this on my own home. I love it!
Let me know if you do! Would love to see yours.
Cool! Love the Ikea Hacks! Nice job Angie!
Thanks, Lisa. More to come. I’m getting a little crazy with IKEA these days…
I love love love ikea hacks. I have a picture frame i covered in maps from my travels for my daughter’s travel themed nursery.
This is so creative!
Me too! I’m getting a bit obsessed. New post coming later today with another one… though it’s less of a hack and more of a paint job.
Wow what a cool idea! It turned out really well. I am SO not crafty or handy; I don’t think I’d attempt something like this.
This one was easier than it looks. The map was on very heavy paper which made Mod Podgeing it a breeze. I’ve had much worse experiences on similar projects!
Ive made out with every girl in the world
I love this! Can I hire you to come be my decorator? You must have the chicest apartment ever.
I’m starting to wonder if it’s chic or getting just a little too busy…but yes, I’ll come decorate for you =)
LOVE LOVE LOVE this – Such a clever idea! How do you come up with these amazing ideas?!
I am in love with your furniture line! You’re so crafty, Miss Angie!
Maybe I should have a travel-themed furniture line… hmmmm, anyone have media contacts at IKEA?!
I stumbled upon your blog because I’m looking to use rast dressers to add storage to our office. This piece is AMAZING! Do you think you might expand a bit on how you attached the shelves between the two dressers? SUCH a creative idea!
Hi Kathy – thanks for your comment! I didn’t attach the RASTs myself, so unfortunately I’m little help in this situation. I know my fella used small wooden dowels, wood glue and a drill to hook everything together, and it was very simple!
Thanks Angie! I was definitely going to pass this little project off to my husband as well 🙂 Hopefully he can figure it out too. Wonderful blog!
Hi Angie, I’ve just read all three of your mod podge diy projects, and I’m absolutely in love and inspired! I’m more than tempted to go buy some materials and start work on this dresser I have sitting in the garage finally. I do have one question though, if I wanted a gloss finish to the piece, what else could I use instead of mod podge as a top coat? Thanks in advance!
I Love Your Ideas . I Have Some Of My Own That I Wanna Try But I’m Not Sure Of How To Go By Them . I Would Like To Transform My Night Stand Into A Marilyn Monroe Night Stand But I’m Not Sure If I Need To Sand It Before Adding Pictures And What To Put Over It To Make It Have A Finished Look And Not To Ruin The Picture. Can You Help Me ?
Lovely idea! Where did you get the London tube maps that size? I’m in the US, so I’m a bit lost how to do this.
I ordered it online – think I used allposters.com. Was super easy and not terribly expensive – good luck!
This is great! I move into my new apartment July 1st – I guess I better get busy and head to Ikea! 🙂
#designgoals for sure! I love how minimal and tidy your house is, Erin! My favorite is definitely the little corner with the hanging green plants. So serene!