Hi friends! Despite trip planning for the rest of 2017, book writing and attraction launching in Orlando, you might be surprised to find out that Rick and I have also been kicking butt on home improvement projects behind the scenes. Even though our house is brand new, if you’ve been around for a while you know I can’t NOT have DIY projects in the works at all times. And my darling Rick, he just LOVES the “honey-do” lists I have tacked up all over the house.
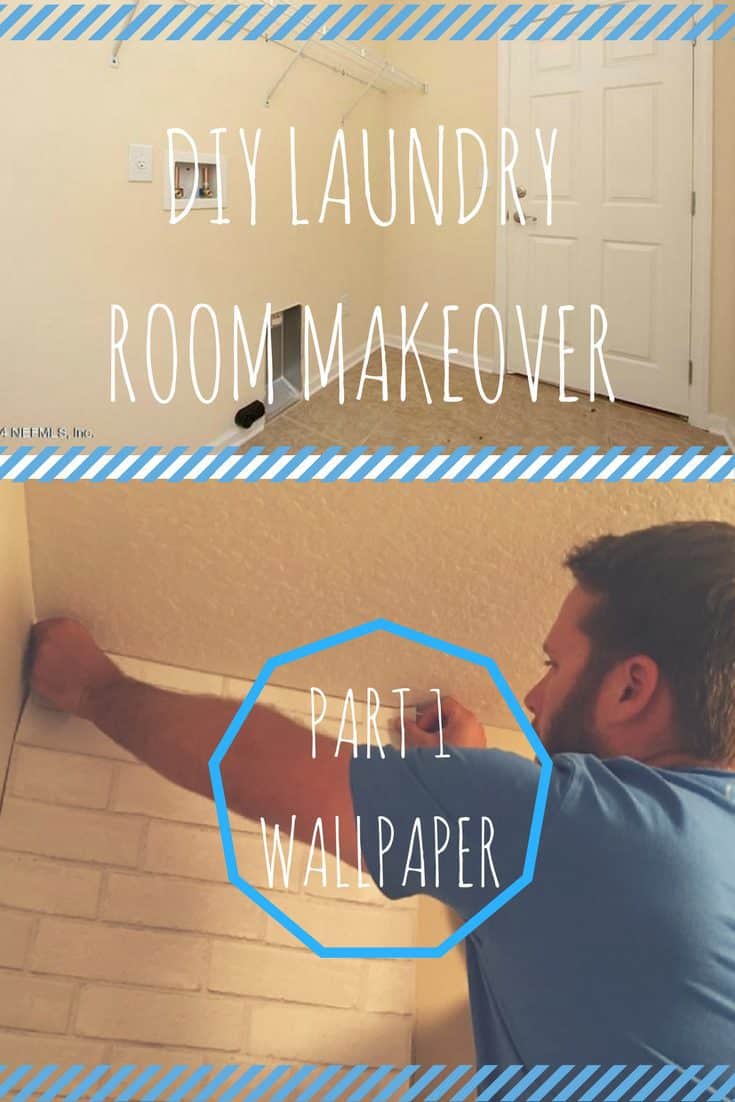
First up: revamping our little laundry room with a DIY Laundry Room Makeover!
Well, it’s more of a laundry hallway, with a door to the garage on one end and a door into the house on the other. It’s pretty tiny, which initially bothered me, but now that we’ve been married 18 months and I’ve seen with my own two eyes how much laundry one adult man can create, I see that it’s a gift to have a space so small that it requires staying on top of the dirty clothes.
Since it’s one of the smallest rooms in the house, it seemed like an easy project to tackle early on in our home ownership journey. One we could finish quickly and move on to bigger, more complicated, more expensive endeavors. (Can you say bookcase built-ins, pallet wall, office makeover, pool installation, deck building…?)
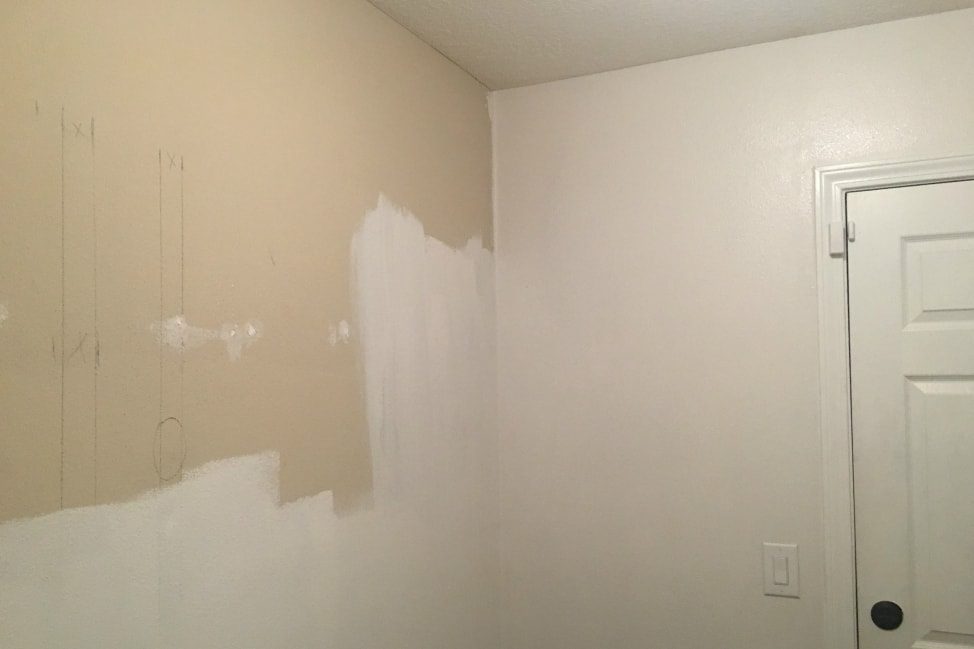
So what are we working with, aside from a very small space? The laundry area came painted in the same icky beige* the rest of the house was covered in, adorned with nothing more than a run-of-the-mill white wire shelf. As basic as it gets. For a few bucks and some elbow grease, I knew I could give our laundry room some character. *I didn’t even take a good BEFORE shot, it was so meh. The one above is from another house in our neighborhood with the same layout and a much more reasonable color.
You might be asking, as my darling Rick did, why does a laundry room need character? Well, ok, smartie pants, it probably doesn’t. It’s just a laundry room. But it is remarkable what a little textured wallpaper and some pretty DIY shelves can do for a room of insignificant square footage. Now that it’s done, I can confidently say I would hang out in our lovely little laundry locale any time…if there were only room for a chair.
So let’s tackle the first part of this two-step DIY Laundry Room Makeover, shall we?
We decided to get rid of the beige paint, wallpaper the wall behind the washer & dryer (Part 1) and finish it all off with custom industrial pipe shelving (Part 2 – coming soon).
What You’ll Need for DIY Laundry Room Makeover
Part 1
Spackle & a spackling thing
Paint & brushes/rollers
Devine Wallpaper (available at Target and on Amazon)
Plywood to cut on
Step 1 – PREP
- Remove existing hardware. Yank down the ugly white wire shelf and spackle the holes.
- Paint. We killed that horrid beige and brightened up the space with Sherwin Williams Origami White left over from when we moved in. Massive improvement immediately.
- Prepare to wallpaper. I wanted more than just a splash of paint to jazz up our little space, but at the same time, I didn’t want to invest a lot of time or expense into a room that is essentially only seen by Rick and me. Solution: Devine Color Peel and Stick Wallpaper! First, measure the space to determine how many square feet you’ll need. One roll of Devine Peel and Stick Wallpaper covers 27.5 square feet. For the upper 2/3 of one wall in our tiny room, we need about 3 rolls but bought 6 (with the same batch number) just in case. Depending on which pattern you use, you may need some extra in order to line everything up properly, and it helps to have plenty extra so you don’t have to run back to the store (or wait for a new delivery) before you continue. We chose Devine Color Peel and Stick Wallpaper Textured Brick Pattern – White.
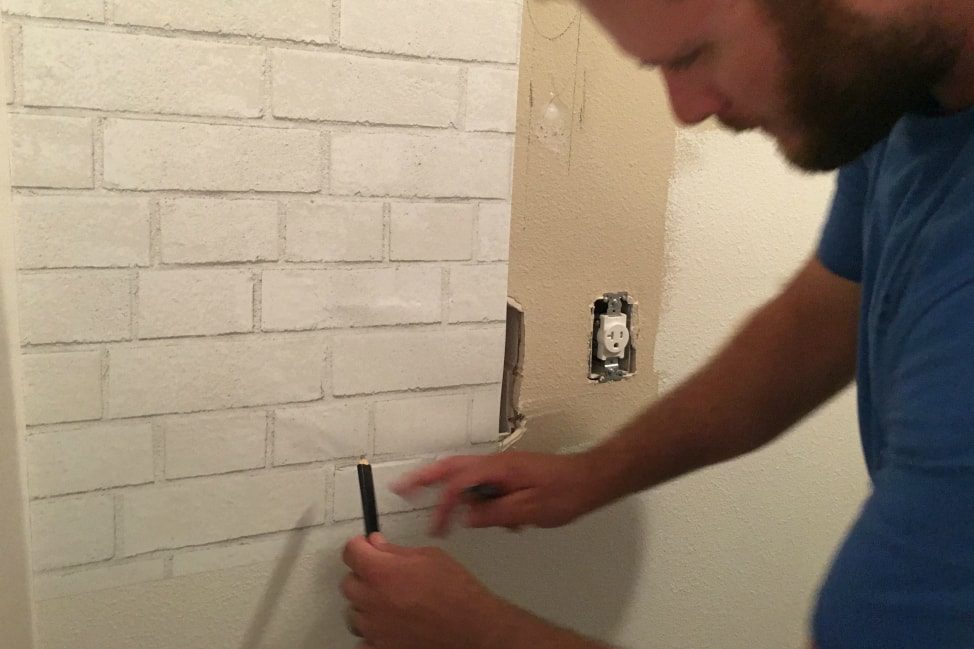
- Prepare for shelving. Note the pencil drawings on the wall… we had to figure out where the studs were before we could decide where to put shelves. More about this in the next post
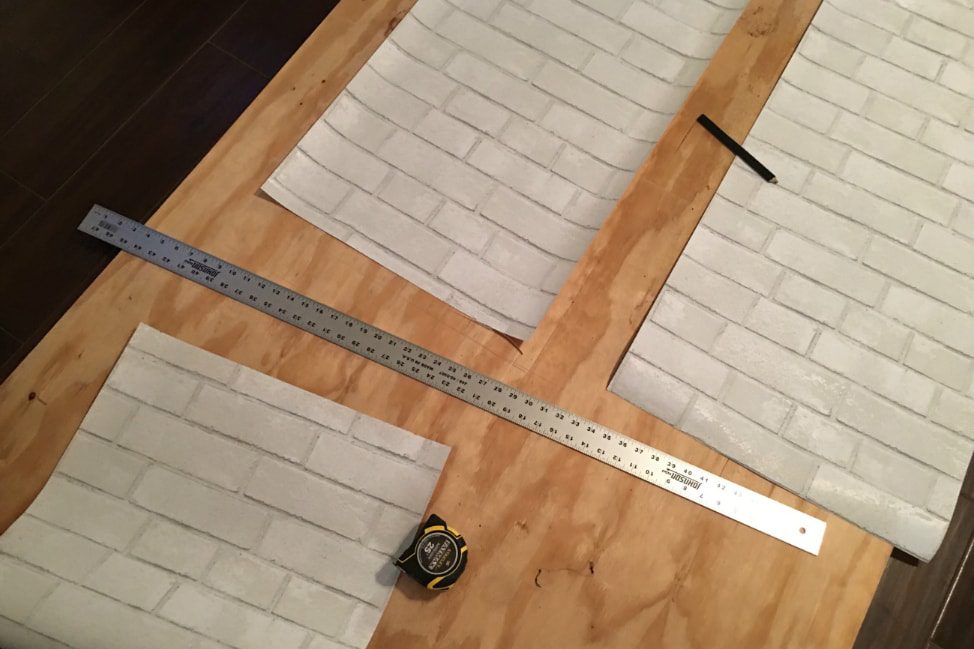
Step 2 – CUT, PEEL & STICK
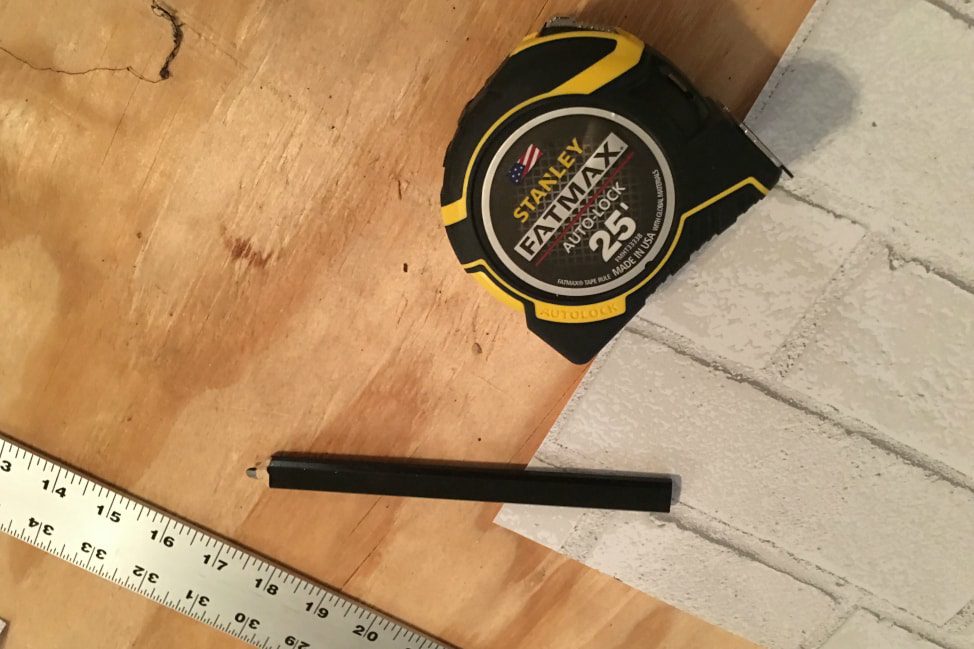
- Pre-cut. Roll out each stretch of paper on the floor side-by-side, measure and cut. Take care to line up the pattern on the first piece with the second perfectly before cutting. (Thank the Lord for Rick here – he found the pattern immediately as I stood there scratching my head.) We used a razor knife and a straight edge to make clean cuts on top of a piece of plywood, and it worked great. (If you skip this preliminary planning step, you will definitely regret it!)
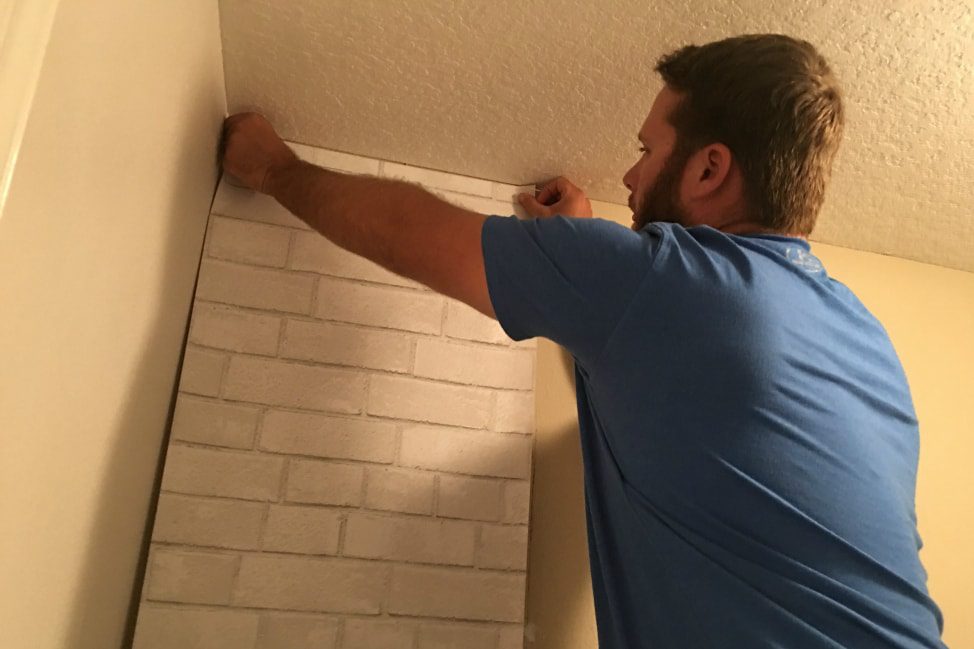
- Peel & Stick. Once you have all the panels pre-cut, peel away a couple feet of the backing for the first piece and prepare to stick, from ceiling to floor. It worked best for us to have Rick up on the ladder sticking the top piece – he has a much better eye for what is straight & even than I do! – and then I would slowly pull away the rest of the backing as he pressed the paper to the wall. If it doesn’t go on quite evenly the first time, it’s really easy to reposition. Just go slowly and bring your patience. (PRO TIP: This isn’t something you want to tackle if you’re already having a rough day and want to throat punch somebody. Or so I hear.)
- Smooth & Reposition. If you have air pockets, use a squeegee to slowly and gently smooth them out.
- Trim. For molding, vents, outlets and the obnoxiously visible box for laundry plumbing, you don’t even have to remove all that before putting the paper up. Just stick the paper over the outlet and trim around with a razor knife. This was so easy I almost couldn’t believe it! (Target put out this great YouTube video to walk you through the process. It looks easy in the video and it actually was!)
PRO TIPS
- If your house is wonky and uneven like ours is, and the builder never used a level or a straight edge, you might find that no matter how evenly you cut and stick, your wallpaper might still need some finessing. As I said, it’s extremely easy to reposition, and we did quite a bit of fiddling with each piece. Just know there’s a possibility that even if you have aligned the paper’s edge with the ceiling perfectly, you still might be a little off in spots. Knowing that could happen will save you from Hulking out when there’s a centimeter space left between the paper and the wall.
- You can use the Devine wallpaper for all sorts of tinier projects, but if you’re going to be sticking large swaths of paper up, don’t attempt it alone. There’s a 90% chance you’ll end up stuck to the wall and ruining your expensive sticky paper in the process. Bring a friend!
- Buy your wallpaper with the same batch number.
It really only took a couple of hours to hang the wallpaper from start to finish. I was really impressed at how easy it was to use. For a small space, it made a huge difference… a difference you’ll have to wait to see in Part 2!
PIN ME
Up next in Part 2 of this DIY Laundry Room Makeover tutorial: how to create beautiful laundry room shelving with industrial pipe supplies!
This post is not sponsored, but there are a few affiliate links sprinkled in. Thanks for helping to keep Angie Away on the road and busy at home!
