Welcome to How to Makeover a Tiny Laundry Room, part deux. (Miss the first half? Start here!)
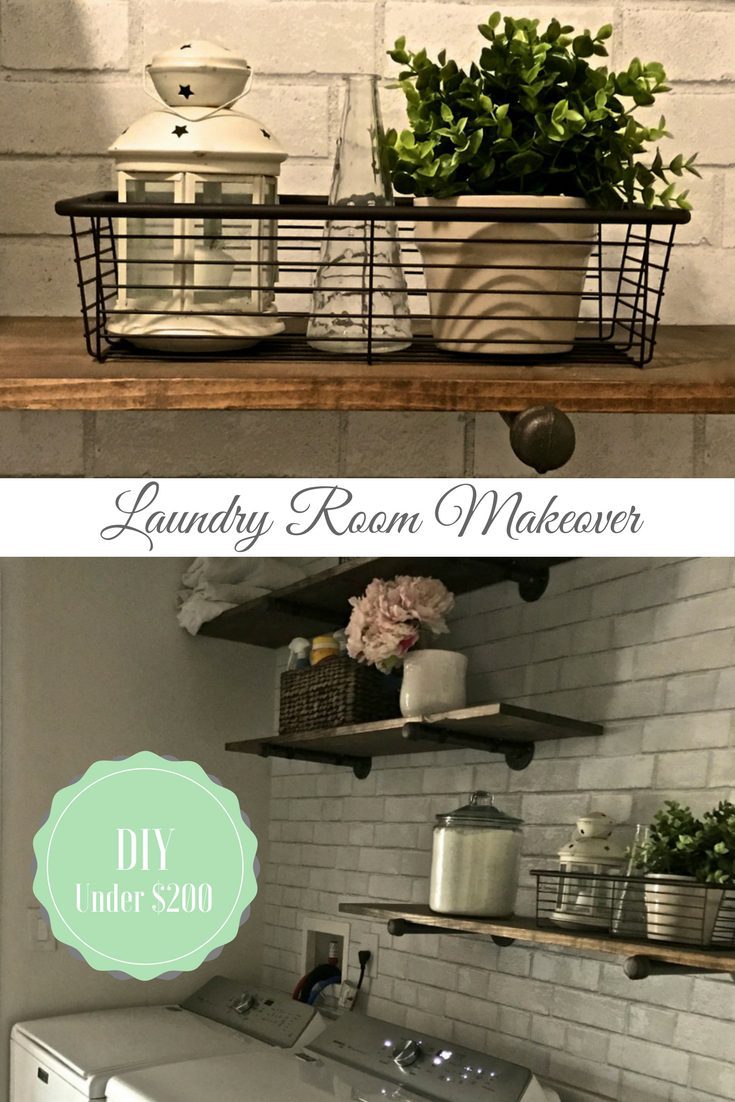
As usual, when I start a DIY project, I figure out the look as I go – literally layer by layer. We started off with a pretty white brick wall for a bright, clean, visually appealing foundation that instantly made the space feel bigger. Then of course, every laundry room makeover needs shelving, so I did some peeking around on Pinterest and found out about using industrial plumbing supplies to create this loft-style, industrial space.
Now that we painted and used peel-and-stick wallpaper to class up the joint, we were ready to move on to the really tricky stuff – custom shelving with nipples!
How to Makeover a Tiny Laundry Room
Part 2
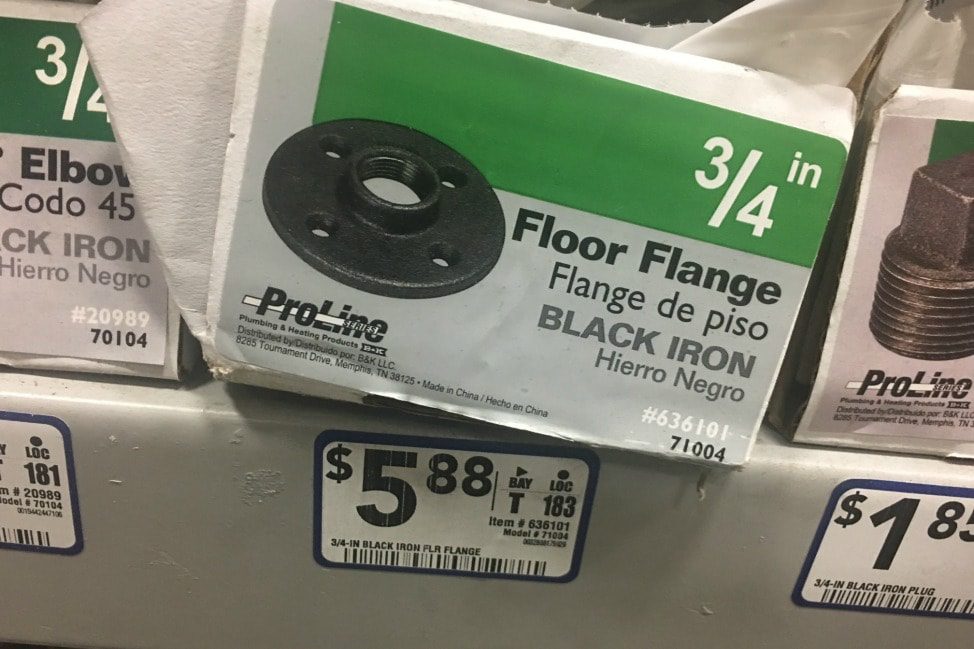
Seven 3/4″ Floor Flanges
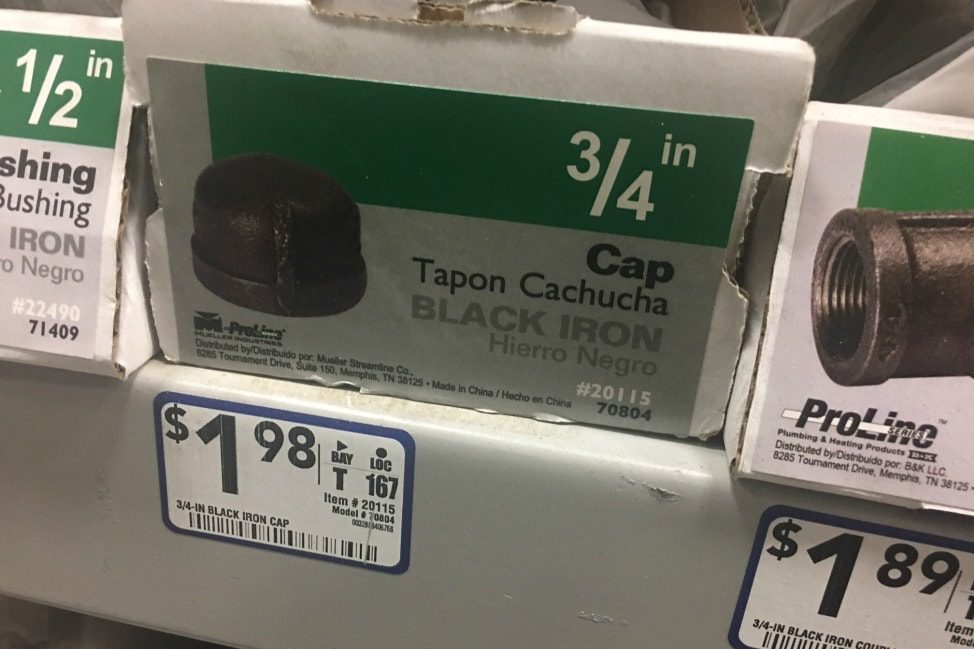
Seven 3/4″ Caps
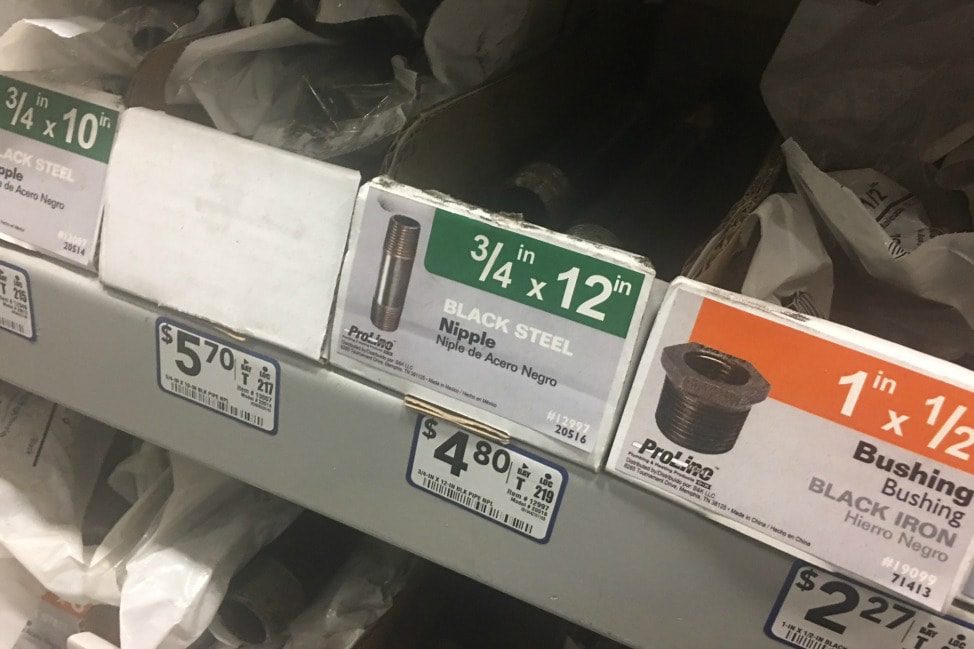
Seven 3/4″ x 8″ Nipples (OH! That kind.)
1 1/4″ x 8 – 3.18 cm Coarse Thread Drywall Screws
Wood boards cut to the length you need (more about this later)
Drill
3/4″ Metal conduit straps (one for each bracket)
Goo Gone
Level
Stain & brush (We used Minwax Penetrating Stain in Special Walnut)
Black spray paint
Stud finder
Tape measure
Phillips head screwdriver
Pencil
Step 1 – PREP
1. Clean your pipes. After you’ve purchased all your supplies, it’s time to prep. The flanges, caps and nipples are usually pretty grimy straight out of the hardware store. Try good old soap and water first, and for any really sticky stuff, Goo Gone should help.
2. Spray paint all pipe pieces and let dry. Do this outside if you can so black spray paint doesn’t A. stink up your house or B. get on stuff you don’t want it on. Like your tile floor.
Note: this step is optional. Honestly I don’t know that it makes much difference unless you’re painting the pipes a bright color.
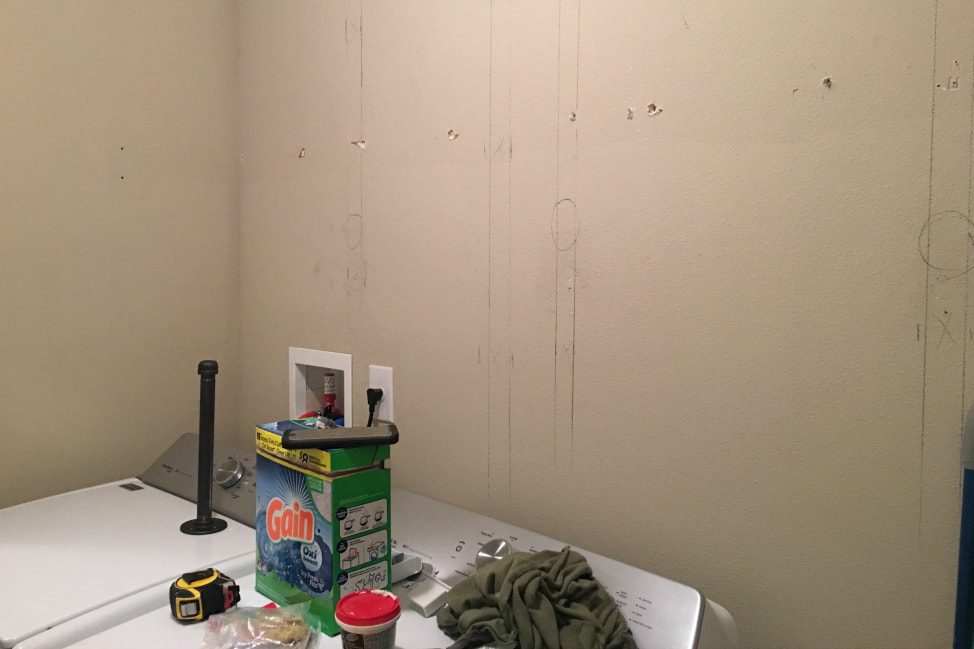
3. Locate studs. Point stud finder at husband and say, “FOUND ONE. Wow, this thing really works!” Beware the subsequent swelling ego.
For all our helpful sketching on the wall, it did little good once we wallpapered over it. Have your stud finder handy to pencil in little indicators on top of the wallpaper where you’ll drill.
Note that the shelf layout we ended up with was not the original concept we had in mind. Stud placement in our house is willy-nilly, so we have to shelf accordingly.
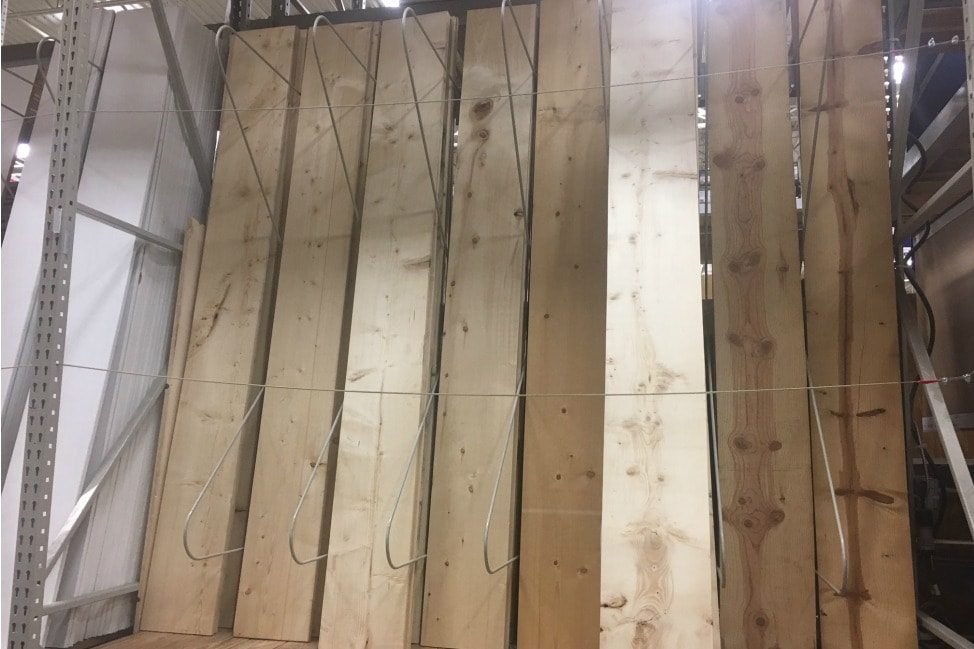
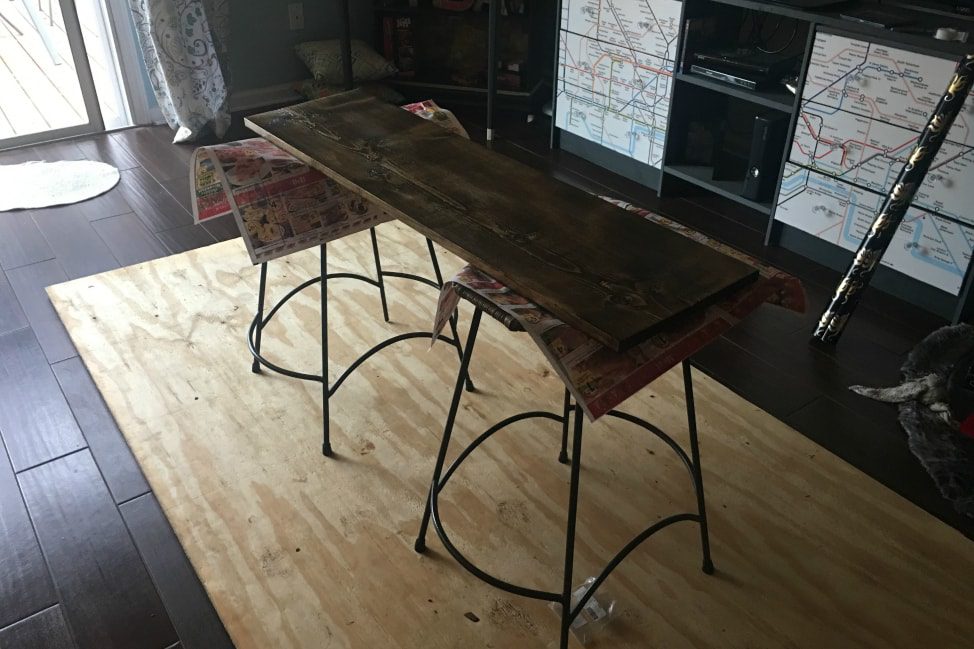
4. Cut boards to size. For our 3 shelves we used two 1″ x 12″ x 8′ boards of utility shelving ($12.98/each) from Home Depot. Take care to choose pieces without splits, cracks or signs of warping. Once you’ve measured out your desired shelf length, cut accordingly. You can have the hardware store folks do this for you for free, but we weren’t sure what size we’d want so Rick cut these at home with a miter saw.
(Update: it’s been a few months since we put the shelves up and one end is starting to sag on the longest board. We may replace with a more expensive, study piece of wood down the line.)
5. Stain. After Rick cut the boards, I stained them with Minwax Special Walnut, a gorgeous, rich color. One coat did the trick. Within a few hours, the shelves were dry and ready for installation.
Step 2 – INSTALL SHELVES
1. Attach floor flanges to wall. Using a drill to screw into the wallpaper was always going to be risky. We didn’t know how it would react. If the screws tore up the wallpaper, we’d have to start all over, and I’d have a hissy fit. So full disclosure: Rick did this part with great care (and maybe some colorful words).
Line up the holes of the first floor flange like a cross. Drills screws into the top and bottom holes directly into the center of the stud for the strongest hold. (We planned to put 4 screws in, but haven’t gotten around to it, and it seems to hold fine with just the two.)
The wallpaper wrinkled a bit where the screws went in, but it’s covered by the flange. No harm, no foul.
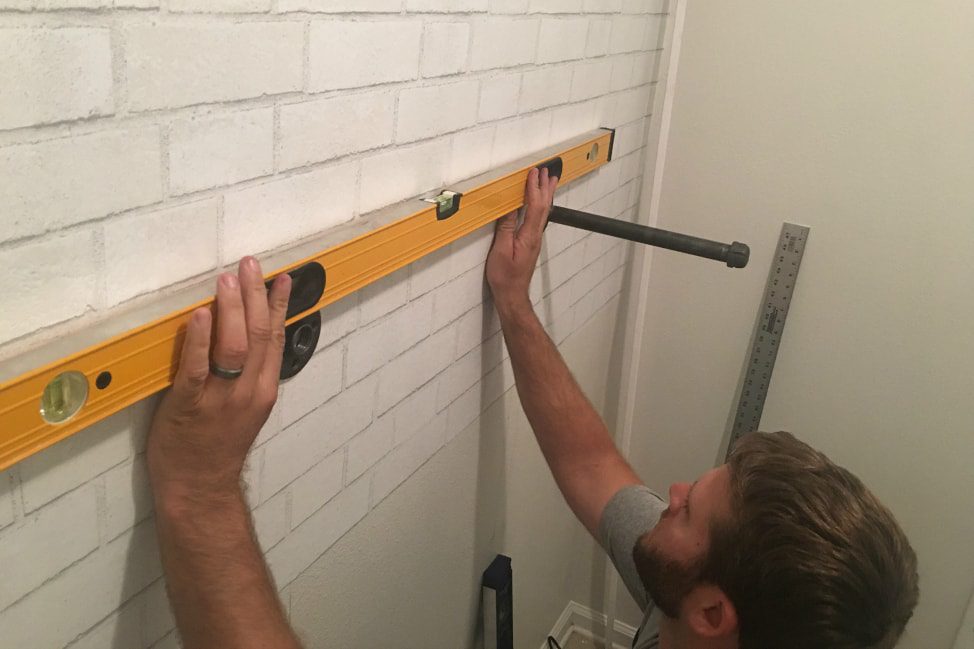
Use a level when you add the next floor flange to make sure your shelves will be even. The key to this particular project was accurate measurement. Unfortunately, here’s a little secret about me — I’m lazy, I cut corners and I don’t care about the rules. And I don’t really know the rules.
If I were in charge of making sure things were straight, our house would look like something Dr. Seuss built and all our shelves would eventually fall off the walls. But with both shelving and wallpaper with horizontal lines, it’s really, really important to make sure things line up as you go along. (I thank the Lord every day for sending me a man who pays attention to that stuff!)
2. Add caps & nipples. Once you’ve attached the flanges, it’s smooth sailing until the end of the project. Just screw the nipple and cap into the floor flange already attached to the wall, and voila – shelf brackets!
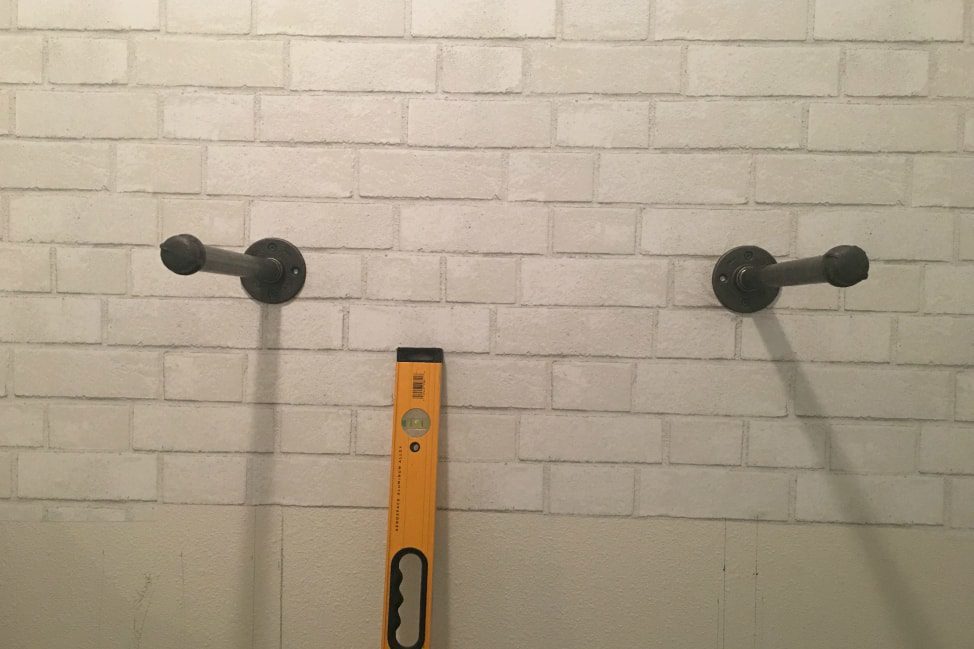
3. Place wood shelves atop brackets. The flange/nipple/cap situation is adjustable, so you’ll want to play with it until the shelf fits just right on top of the nipple.
4. Add extra stability. We used metal conduit straps to secure the underside of the shelf and the flange/nipple situation together. I thought this step was overkill. That is, until I put a heavy glass jar filled with laundry detergent on one end and watched the shelf pop up on the other side!
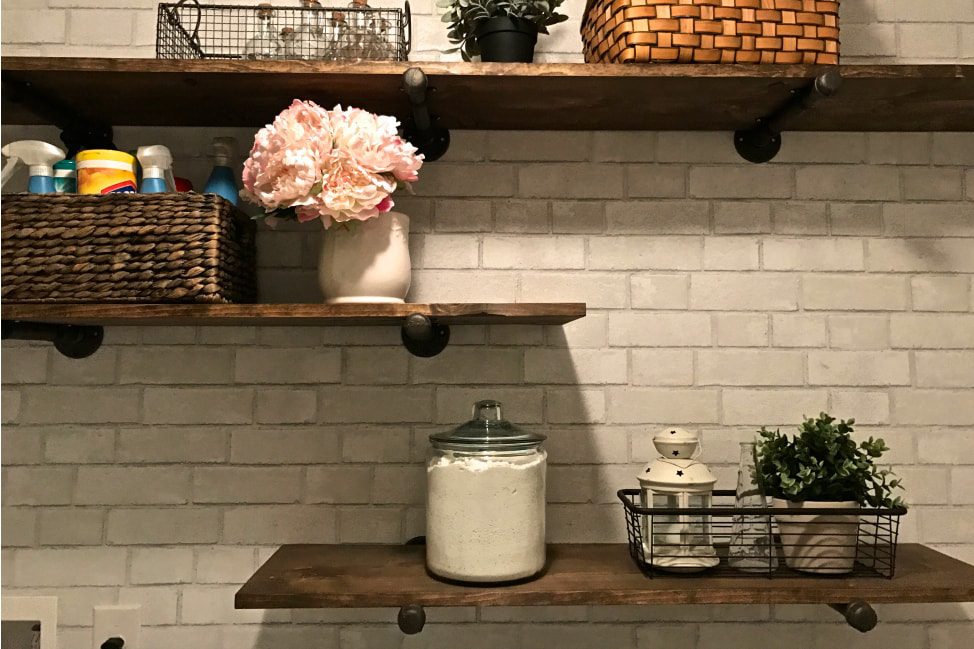
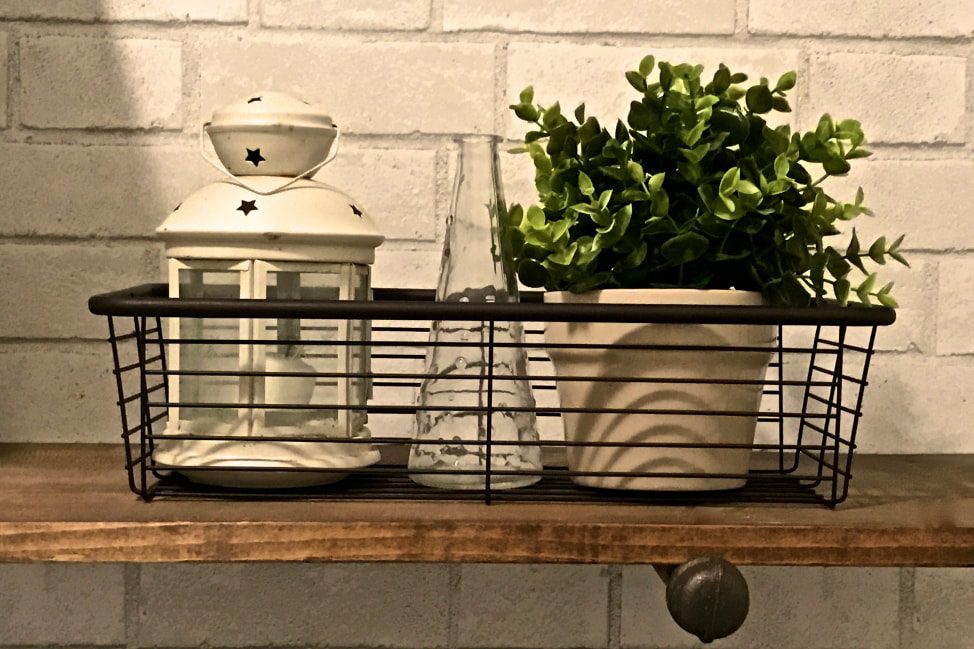
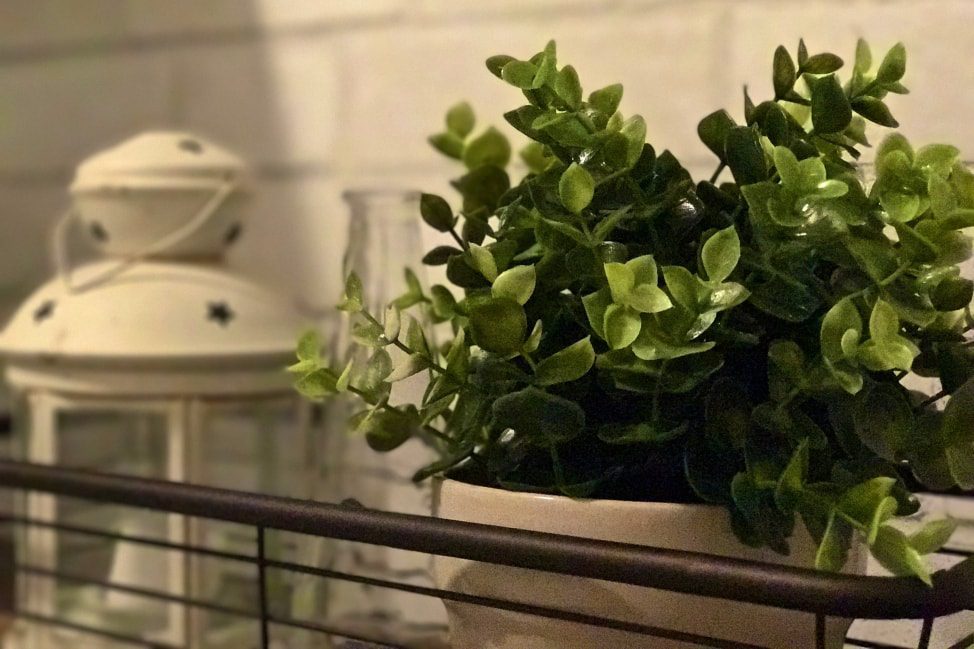
Finish off the look with wire baskets and faux potted plants for a cute-as-a-button little laundry room. Now, perhaps a bit oddly, this is my favorite room in the house to show off.
When I say, “Come see my laundry room! It has industrial nipples,” it’s a real conversation starter.
Before we started, I had no idea how to makeover a tiny laundry room that was little more than a closet into a thing of beauty, but this really is an easy project you can tackle in a weekend. All told, it costs less than $200!

We do have a few more finishing touches to add – a wooden frame for the laundry baskets and some sort of cover for the unsightly plumbing hookups, but my husband has informed me we “literally have the rest of our lives to do that.”
So, update coming ideally before I’m on my deathbed…
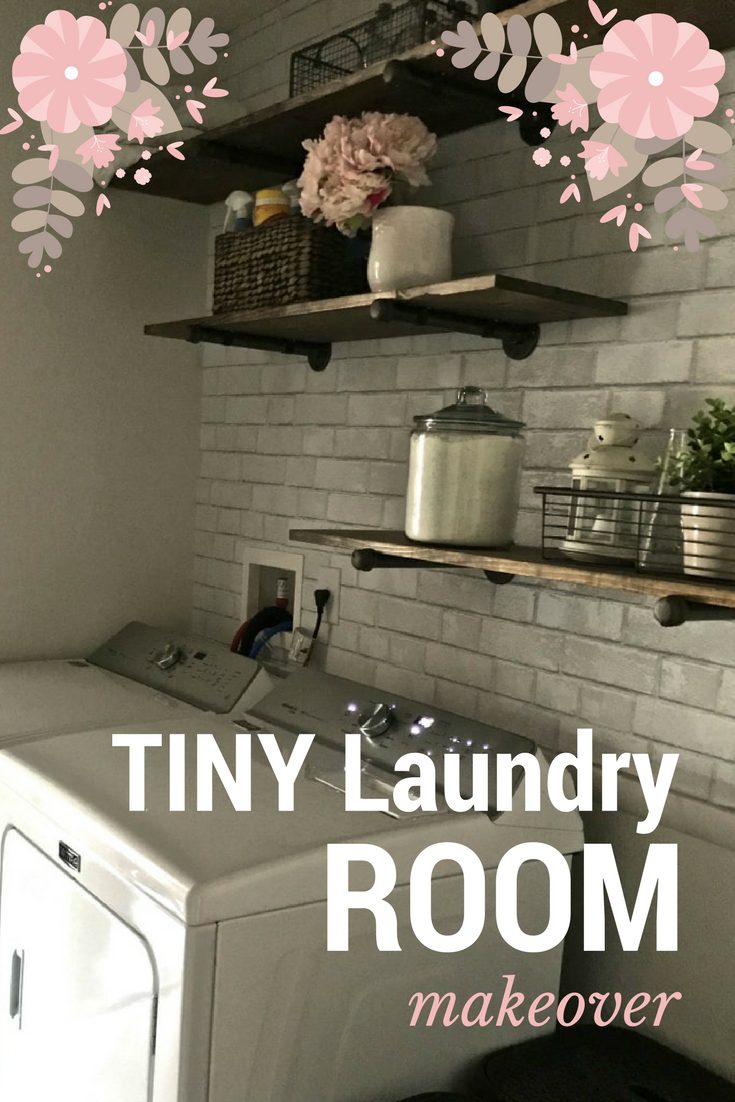
PIN ME

What do you think of our new space?
This post is not sponsored, but there are a few affiliate links sprinkled in. These links help keep the Angie Away team on the road / busy at home at no extra cost to you. Thanks for your support!
