Now that I’m semi-nomadic and very happily nesting in my new apartment, I’ve finally had the time to put some of those 150,483,239 ideas I’ve feverishly pinned on Pinterest to work by making – wait, ok, not like, making from a tree I chopped down and fashioned into furniture – more like, refurbing the majority of my furnishings in the new place. So far, I’ve purchased only new barstools, a couch and a mattress, and DIY’ed an old dresser, two IKEA nightstands and a consignment shop desk.
You’ve probably seen the before and after pictures if you follow me on Pinterest, Instagram or Facebook, because I have diligently posted updates for each project, because I became a neurotic, craft-obsessed weirdo since I moved into my Morocco-inspired apartment. AND, I received SO many emails asking me how I stenciled / painted / designed the drawer fronts so I decided to let y’all in on my secret: it’s wrapping paper and Mod Podge!
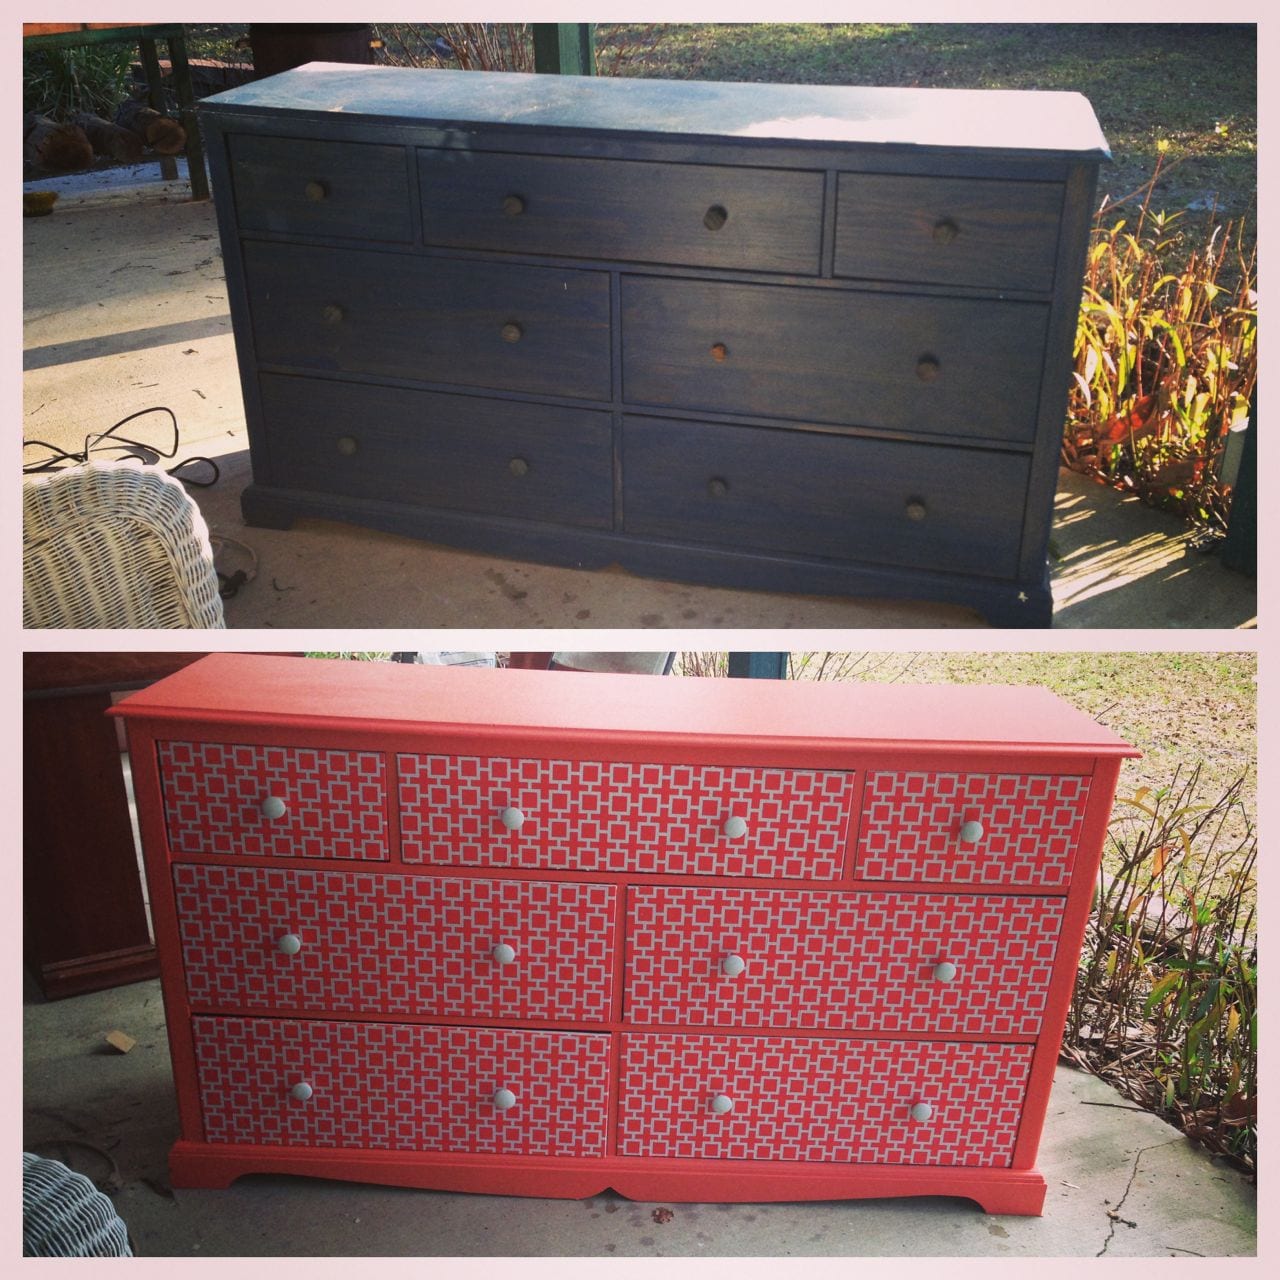
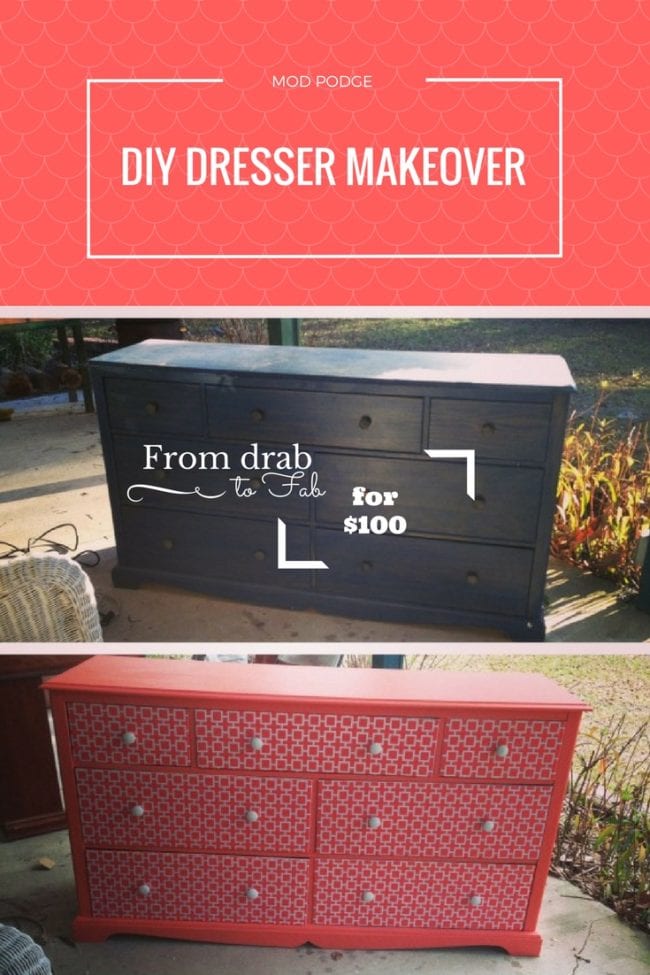
DIY Dresser with Mod Podge – Here’s how!
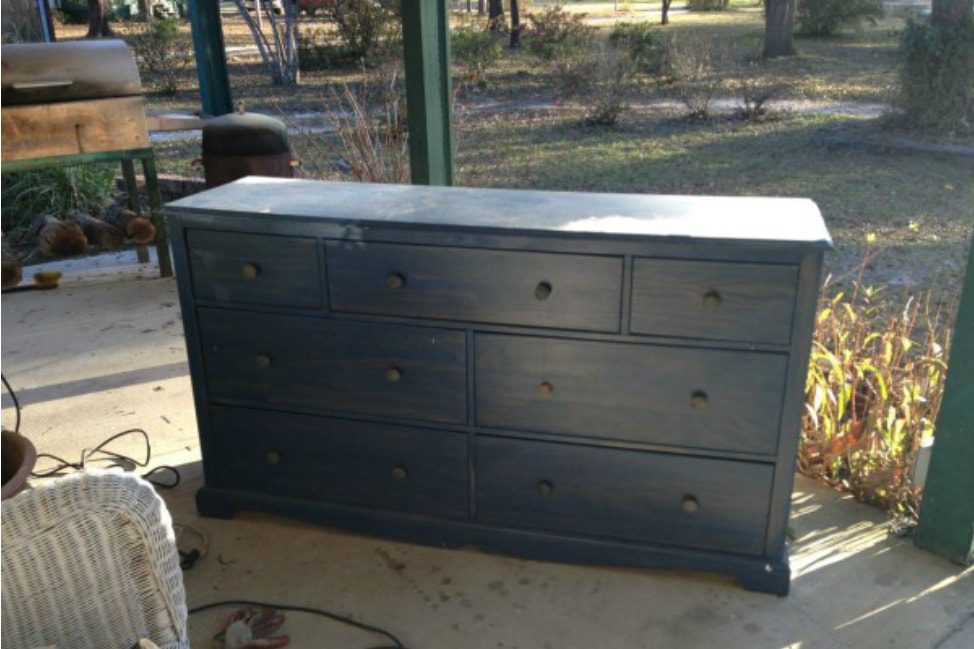
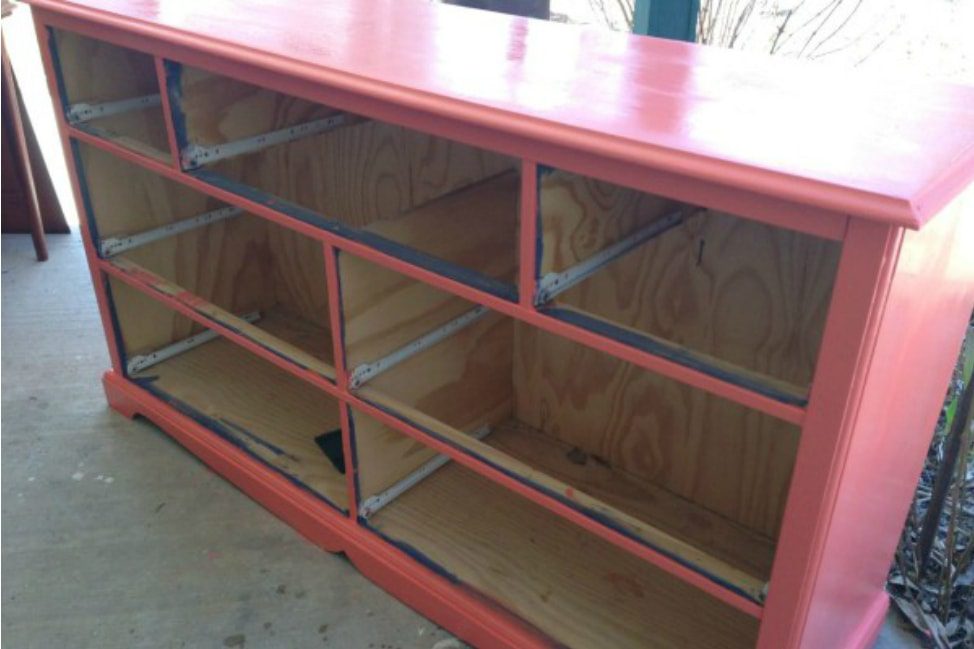
Step 1: Find a piece.
Obviously. Ask your grandma if she has any old furniture in the garage you can practice on, or maybe there’s a dresser in your guest bedroom that needs a refresh. If you don’t have something ready and awaiting an upgrade at your house, check Goodwill, the Salvation Army, garage sales, flea markets or consignment shops for great deals. I found my dresser, a simple, flat-faced wood piece, at Habitat for Humanity thrift store in my hometown for $70.
But how do you know what to choose? Heaven knows many a novice crafter has been pushed to the edge of sanity by a Pinterest project that was more challenging than it looked. If this is your first attempt at a DIY furniture project, flat, unadorned surfaces are best because they give you an easy, no pressure environment to learn. If there’s too much detail, it can be really frustrating and demoralizing – and yeah, ain’t nobody got time for that.
Also, keep your eyes open for unfinished wood – not the shiny varnished or stained stuff. Unfinished/painted wood is much easier to sand and paint, and you don’t have to do any stripping or complicated shenanigans to get it ready for your talented design skills.
Whatever your DIY furniture situation, I suggest you start simple and work your way up to bigger, more intensive projects and more complicated techniques.
Step 2: Plan & shop.
I don’t always do well in the planning step, and many times I find myself surrounded by supplies and a blank canvas with no idea what I’m going to do, and then I just… make something. That method only works if you have stocked up on supplies in advance and if you have some idea of what colors and style you’d like to end up with.
So that means….more trips to Home Depot and Michael’s. Story of my life!
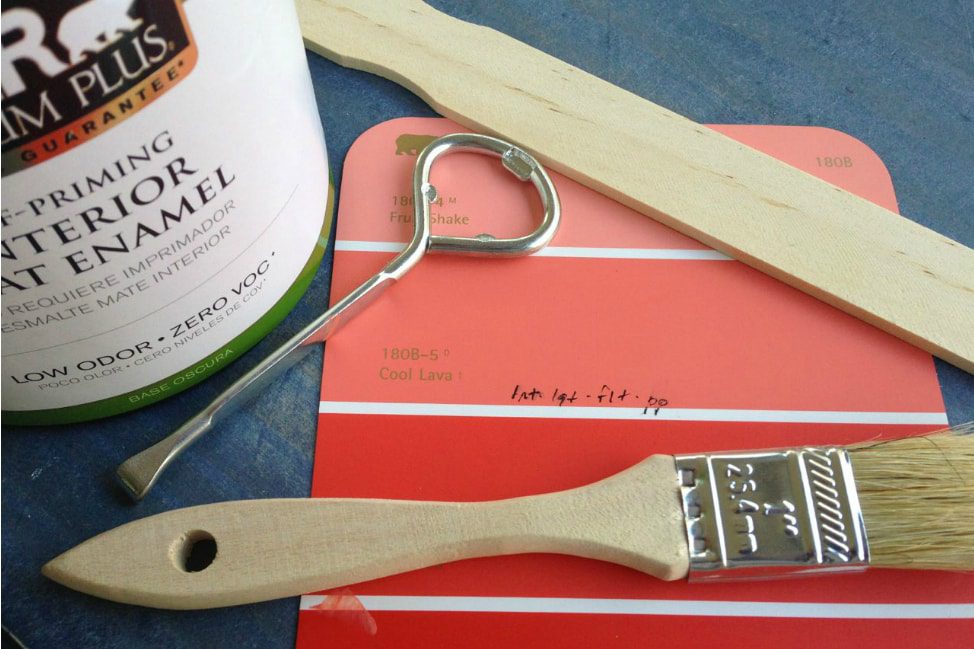
So what do you need to refurb a dresser like mine?
- Electric sander & sandpaper (You may not need an electric one, but I have very DIY-savvy parents with awesome tools, so that’s what I use.)
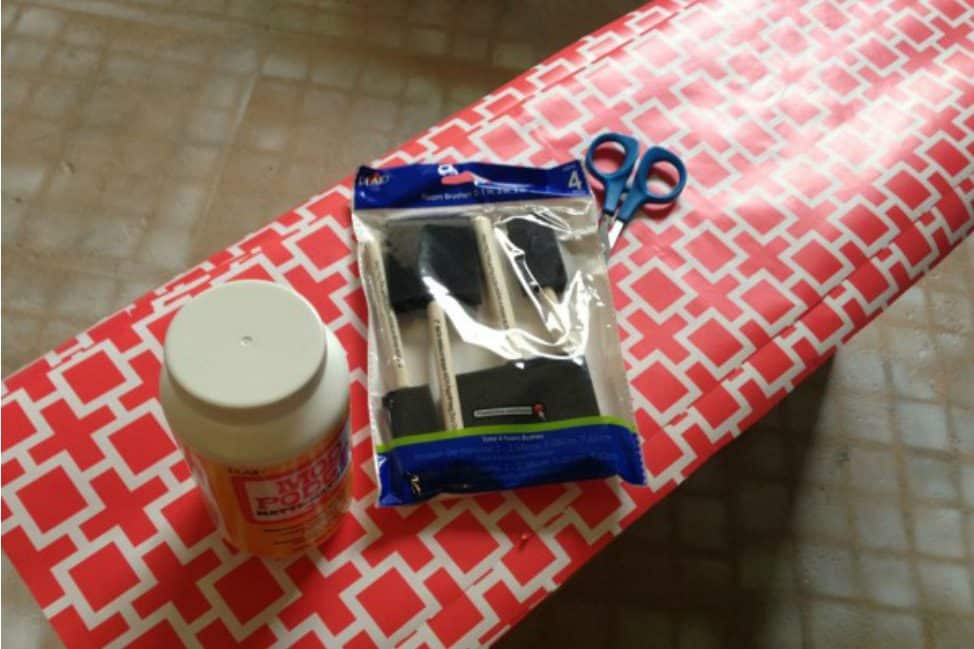
- Paint & paintbrush (I used a quart of Behr Premium Plus Self-Priming Paint in Cool Lava)
- Wrapping paper (I got mine from Target)
- Mod Podge Matte
- Painting sponges
- Spray paint
- Replacement knobs
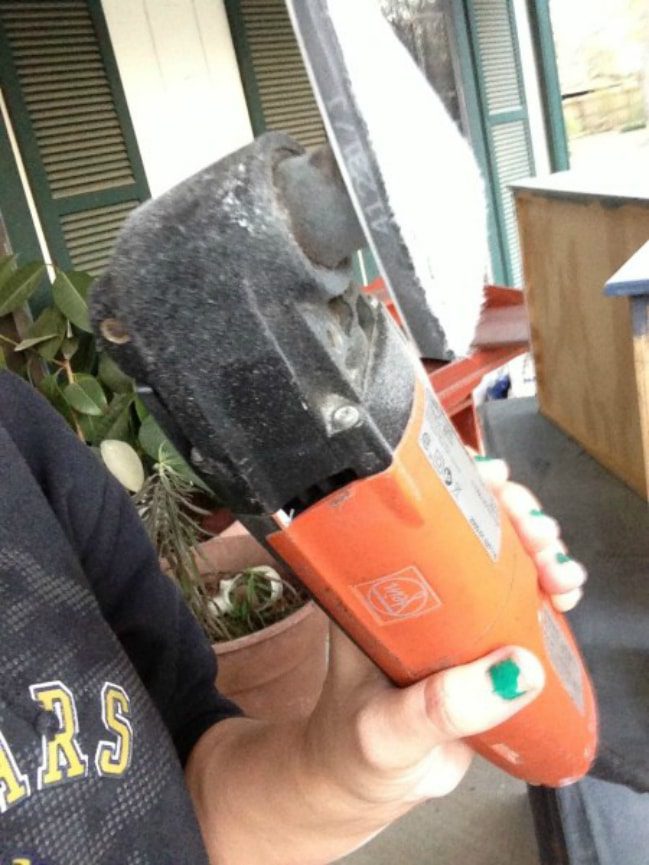
Step 3: Prepare your piece for painting.
Remove drawer pulls and put aside.
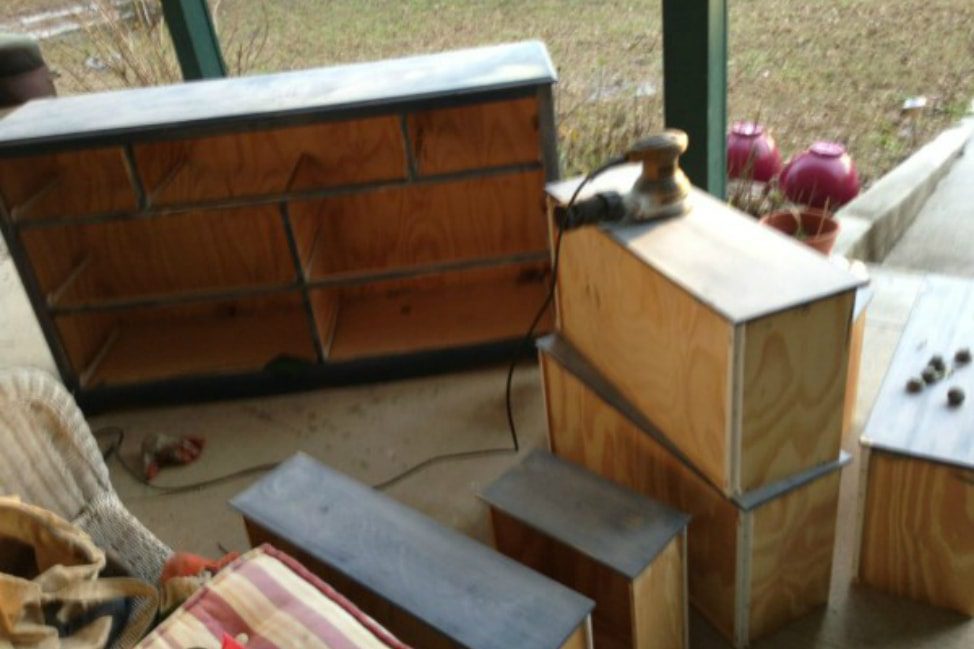
If your piece is already painted, you’ll want to rough it up with an electric sander (or just sandpaper) to prep it for the new paint. I like to do my sanding outside on Mom & Dad’s front porch because then I don’t get dust everywhere. Remove the drawers and sand the fronts individually.
Once you’re finished, wipe the dust off with a damp cloth and allow to dry.
Step 4: Paint!
For furniture projects like this, I use a paint with primer already mixed in because I have zero patience and I hate extra steps. It took me about 4 coats to get the dresser to really look like Cool Lava… errr, I don’t know that this is what cooling hot lava looks like, but who am I to argue with the professional color-namers at Behr?
Though you don’t need to paint any surface you’ll be Mod Podging later, be sure to paint even further inside the dresser drawers than you think you might need to, otherwise you could end up with visible spots from the dresser’s past life… like I definitely did on this first project. Whoopsie.
Consider: Primer coating
Acrylic primer is considered to be the best because it contains components corresponding to the composition of the acrylic paint. According to this blog page, you should read the instructions before applying primer coat. It is important to consider primer drying time and calculate the exact amount of the composition for the corresponding surface area. The primer is applied with a thin layer using a roller and then left on until completely dry.
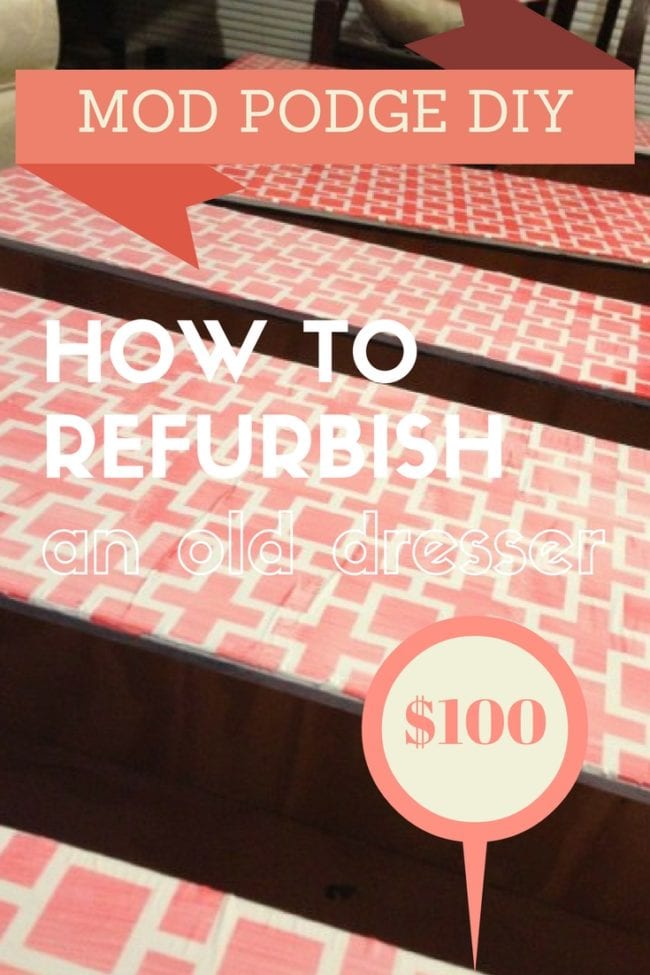
Step 5: Cut wrapping paper to size.
I measured the drawer fronts where I planned to Mod Podge the wrapping paper and then cut pieces to fit exactly, with no overlap. This technique will vary depending on the thickness of your chosen material… scrapbook paper, fabric, wallpaper, etc.
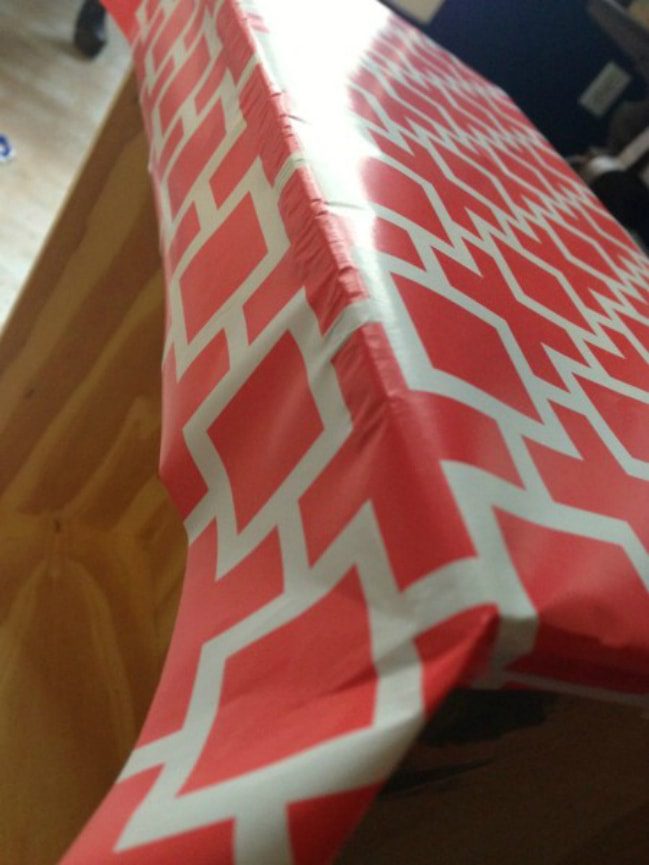
Step 6: Adhere paper to drawer fronts.
With a painting sponge, paint a thin layer of Mod Podge on the drawer and apply your material evenly and smoothly over the top.*
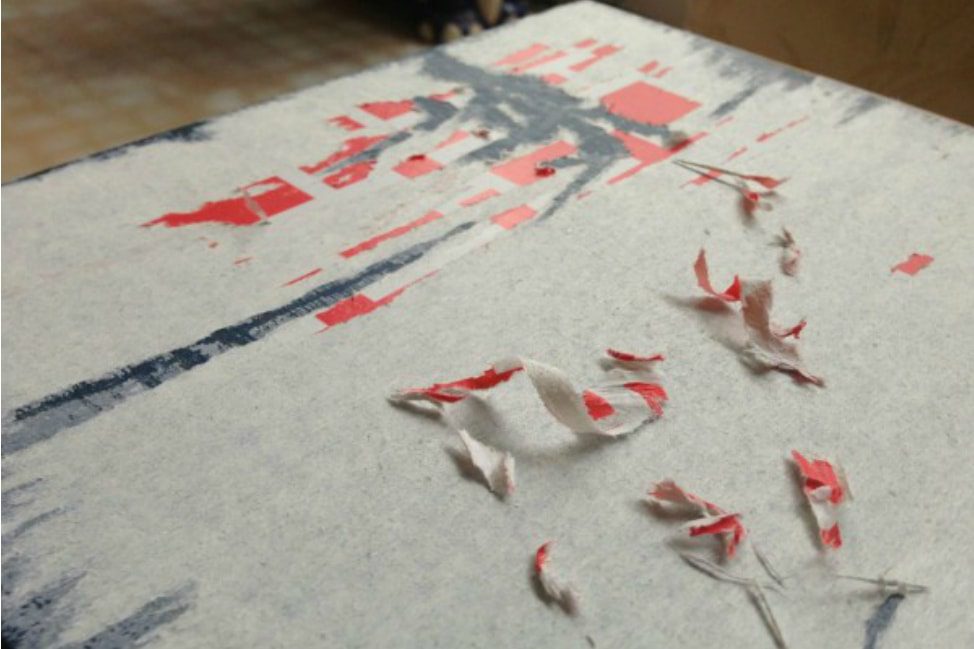
*This is the part of the project where I started throwing things and stomping my feet in a rage. My hysteria was enough to summon Mom to the room where I was flipping out and threatening to buy a ready-made dresser. “Self, you wouldn’t dare!”
Though it seemed like it would be easy enough to glue a carefully cut piece of wrapping paper to the flat, sanded drawer face, my first attempts were riddled with bubbles and wrinkles, and I could not get them to smush out no matter what tools I used. (I bought a Mod Podge-branded roller thingy and it didn’t help at all.)
Now that I’ve been through the process, I can share two lessons for those of you about to embark on a similar project. One, the thickness of your material matters in how it adheres to the piece. The wrapping paper I chose was very thin, so it absorbed the Mod Podge in just such a way that there was no room for error. Don’t be afraid to practice and mess up, and buy extra Mod Podge & wrapping paper so you aren’t under too much pressure to perform.
Step 7: Repeat steps 3, 5 and 6 AGAIN and try not to throw things in the meantime.
Two, as my Mom taught me, perfection is not necessary in the world of Mod Podge Dresser drawer fronts. After I ripped off the bubbled paper and re-sanded the drawer fronts, she stepped in and slapped on the paper with all the confidence of someone who has flipped several houses and wallpapered countless walls. And you know what? There were some bubbles and wrinkles, but once I completed Step 8, it made little difference.

Step 8: Mod Podge again and again.
I must’ve used 6 coats of Mod Podge on my drawer fronts, which I think is probably overkill, but I really wanted to ensure the paper was sealed on there forever and ever. I used the painting sponges – several of them wore out on me, actually – and took special care to seal the edges with Mod Podge, as those are the spots that get daily wear and tear from opening and closing drawers as I change clothes 14 times before I leave the house.
Allow about 20-30 minutes in between coats for drying, and let all the drawers dry face-up overnight before placing them back into the dresser.
Step 9: Paint drawer pulls.
The easiest thing to do about drawer pulls: buy new ones! That was my great idea until I saw just how much the darn things cost… something like $48 for 12 of the ones I wanted at Target.
So I moved on to Plan B (for bargain), which meant spray painting the wooden pulls that came with the dresser and replacing the one that was broken. I couldn’t find the exact correct size at Home Depot, but take a look… you can’t really tell which one is the wrong size, can you?
Step 10: Put it all together.
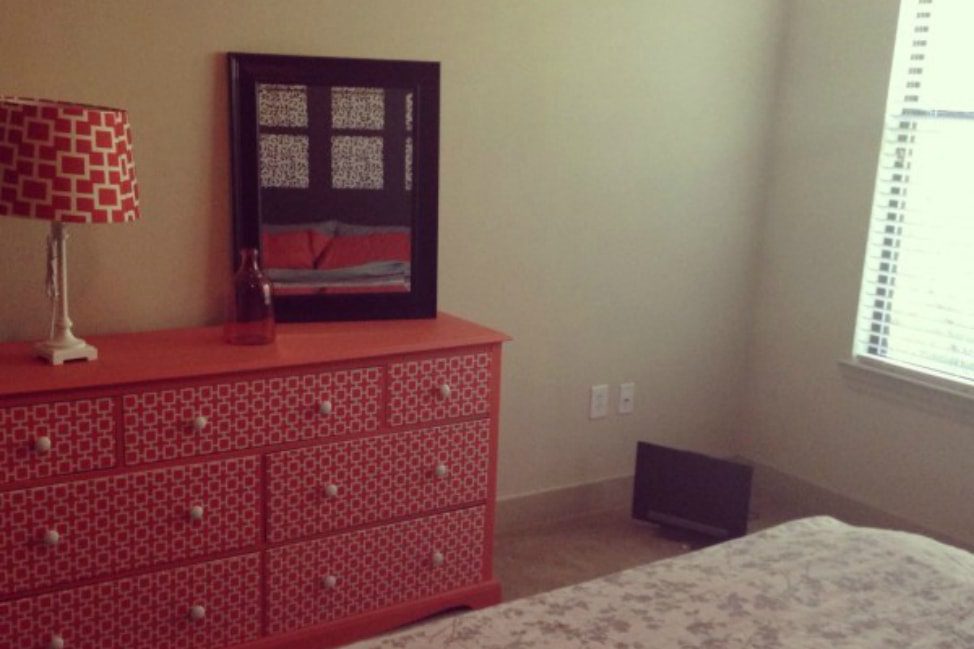
Once the dresser, drawers and pulls have all dried from their various paint applications, screw the drawer pulls in and pop those puppies into the dresser. Admire the finished product. Take pictures as though it were your firstborn child. Decide you don’t like Cool Lava and begin plotting how you can refurb your refurb Mod Podge dresser —– wait, don’t do that. Just enjoy the work you’ve done and give yourself a pat on the back! POW!
Total cost for the whole Mod Podge Dresser project
- Consignment dresser : $70
- Behr paint : $15
- Paintbrushes & sponges: $10
- Wrapping paper : $8
- Replacement drawer pull : $1
- Mod Podge : $7
- I already had the spray paint & electric sander
Total: $111
PIN ME
***
I love using a part of my brain that doesn’t involve either traveling or writing, so if you’re keen to support me in this endeavor, check out some of my favorite DIY projects – my Laundry Room Makeover, Union Jack Nightstand or my Fake Flower Wedding Bouquet!
